Nearly every website needs a reliable way for people to reach you. WordPress core still doesn’t include a native contact form block, so the simplest, safest path is to add one yourself without touching code.
If you’re not a developer, don’t try to hand-roll a form—maintaining validation, accessibility, spam protection, and deliverability is a time sink. There’s a faster, no-code path that also gives you powerful anti-spam tools.
All you need to do is install a plugin (and turn on spam protection).
5 Steps to Create a Spam-Free Contact Form
To follow along, you should already have a WordPress site and access to your WP Admin dashboard. In this tutorial, you’ll install a contact form plugin, customize the form, enable anti-spam, and embed it on a page so visitors can reach you instantly.
First up: choosing the right plugin.
1. Find the Right WordPress Contact Form Plugin
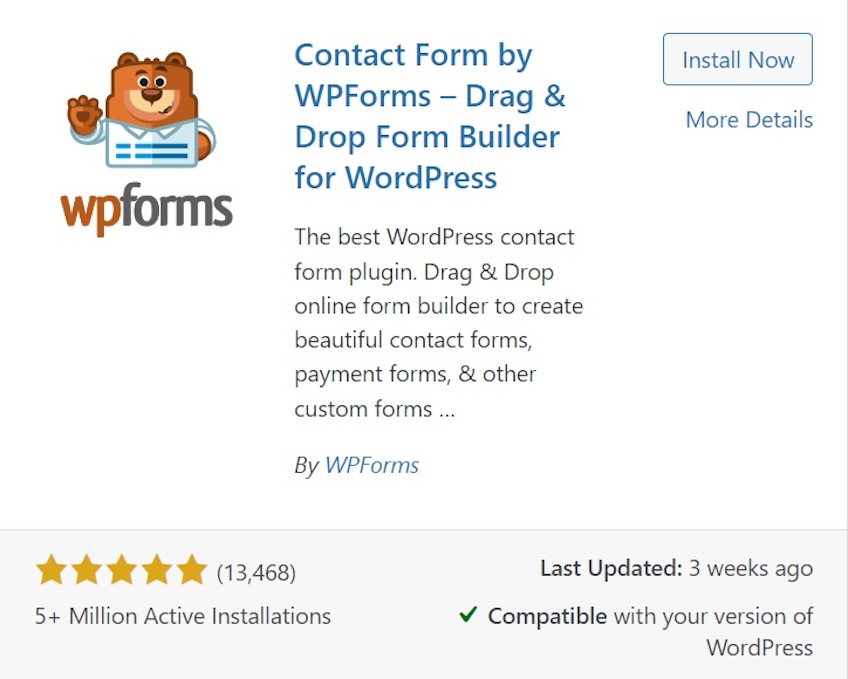
Plugins are one of WordPress’s best strengths. If your site needs something that isn’t built in, there’s almost always a trustworthy plugin for it. In this walkthrough, I’ll use the Contact Form by WPForms plugin.
WPForms is:
- Popular. With over 5 million active installs, WPForms is widely used and actively maintained—reducing risk from bugs or security issues.
- Beginner-friendly. A true drag-and-drop editor (WYSIWYG) plus a dedicated Gutenberg block lets you build and place forms without code.
- Customizable. You can add fields, set conditional logic, and build multi-step forms. (Note: advanced features like conditional logic require a paid tier.)
- Well-integrated. Works smoothly with popular builders like Divi and Elementor and connects to CRMs and email tools.
- Free. The “Lite” version is free and perfect for a basic contact form; you can upgrade later if you need more.
If you prefer a different form plugin, the setup will be similar. Most reputable form builders are intuitive and well-documented, so you can follow the same general process.
2. Add the WPForms Plugin to Your WordPress Site
I’ve chosen WPForms; now I’ll install it so you can build the form.
- Log into your WP Admin dashboard.
- Go to Plugins -> Add New.
- Search for “WPForms.”
- Click on Install Now.
- Click on Activate.
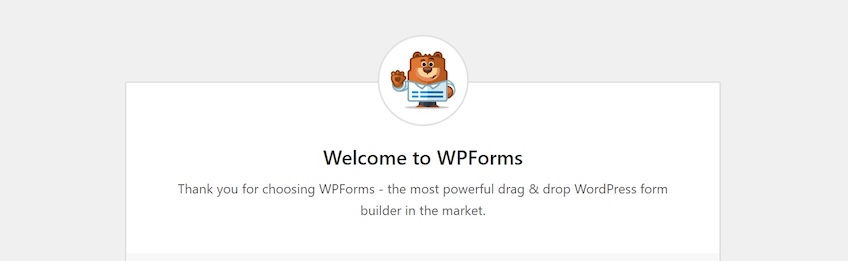
After activation, you’ll see a welcome screen with quick links and templates.
Before building the form, I recommend making sure spam protection is on so bots can’t flood your inbox.
3. Turn on CAPTCHA Anti-Spam Protection
Any open form on the web will attract automated submissions. CAPTCHA challenges and modern “frictionless” protections help block bots before they hit your inbox, keeping your time focused on real people.
By default, WPForms’ built-in spam protection is available, and you can connect one of three CAPTCHA providers: hCaptcha, Google reCAPTCHA, or Cloudflare Turnstile.
In this example, I’ll use reCAPTCHA, Google’s free anti-spam service, but you can choose any provider you prefer (Turnstile is a great low-friction alternative).
To use reCAPTCHA:
- Go to the Google reCAPTCHA Admin Console. (Sign in with your Google account.)
- Enter a recognizable “Label” for your site.
- Select the reCAPTCHA type you want (e.g., reCAPTCHA v2 Checkbox or reCAPTCHA v3).
- Add your website domain and accept the terms.
- Click Submit.
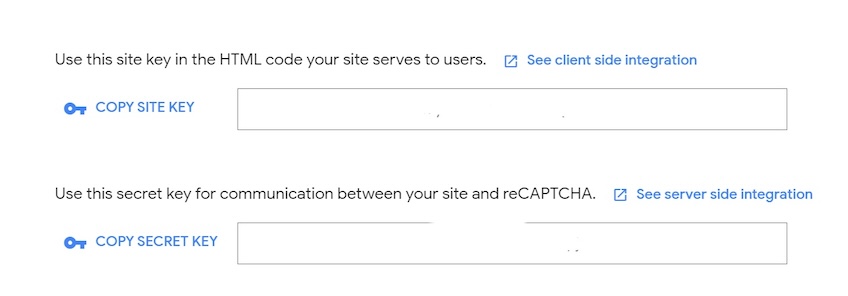
You’ll get a site key and a secret key:
With your keys ready, connect reCAPTCHA inside WordPress.
To connect reCAPTCHA to your WordPress account:
- Return to your WP Admin dashboard.
- Go to WPForms -> Settings -> CAPTCHA.
- Select reCAPTCHA.
- Choose the Type (e.g., Checkbox reCAPTCHA v2 or reCAPTCHA v3).
- Paste your Site Key and Secret Key.
- Click Save Settings.
From now on, visitors will complete a quick check (or an invisible score-based check with v3) to prove they’re human—balancing strong bot detection with a smooth user experience.
Tip: Prefer maximum privacy and minimal friction? WPForms also supports Cloudflare Turnstile, which doesn’t use traditional tracking cookies.
4. Create a Contact Form in WPForms
Time to build the form. WPForms supports everything from simple contact forms to support tickets, surveys, and quote requests. For this tutorial, I’ll create a basic contact form and point out options you can enable later.
To create your contact form:
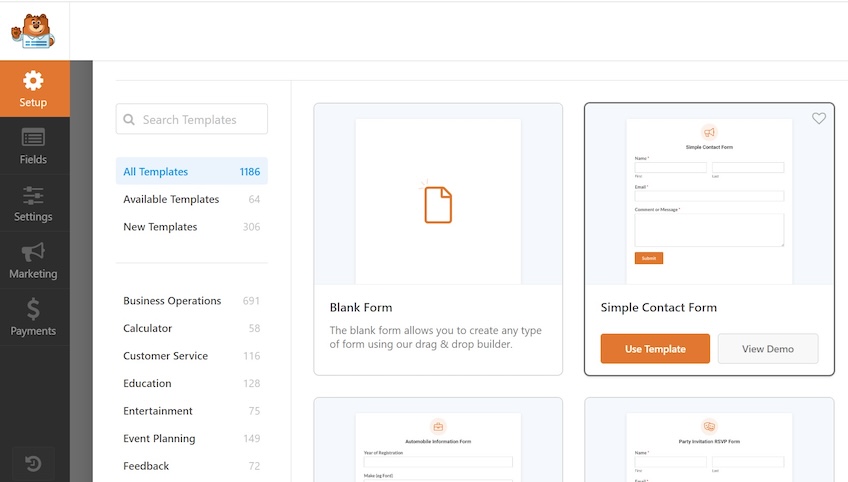
- Go to WPForms -> Add New.
- Enter Contact Form as your form name.
- Select the Simple Contact Form template.
After you pick a template, you’ll land in the editor to customize fields and behavior.
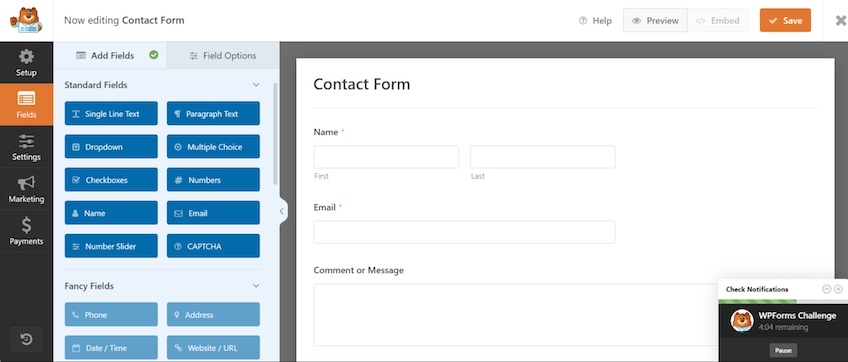
For a standard contact form, the preset fields (Name, Email, Message) are enough. You can always add fields like Phone, Subject, or a dropdown to route inquiries later.
If you want to customize, use the left panel:
- Fields. Add, remove, or edit fields. For example, switch from separate first/last name to a single “Full Name” field, or mark fields as required.
- Settings. Configure Confirmations (the message people see after submitting) and Notifications (who receives the email). Set the Reply-To to the sender’s email so you can respond with one click.
- Marketing. Connect to tools like Salesforce, Zapier, or HubSpot if you want submissions to feed directly into your CRM or newsletter.
- Payments. Link Stripe or Square if you plan to accept payments or donations with a form (not needed for a basic contact page).
Before you finish, double-check spam protection at the form level.
To check your anti-spam settings:
- Select Settings -> General.
- Select Spam Protection and Security.
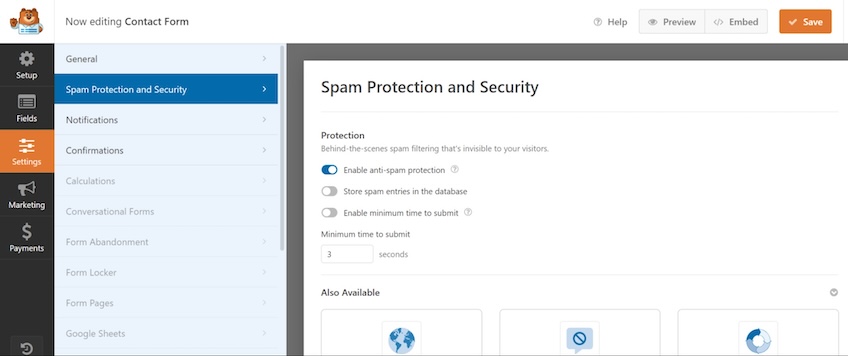
Leave Spam Protection enabled. This invisible layer helps filter junk before it reaches you. You can also fine-tune behavior based on your needs.
Here are two useful toggles:
- Store spam entries in the database. Helpful if you want to review what’s being blocked to catch rare false positives.
- Enable minimum time to submit. A short delay (e.g., three seconds) makes automated submissions less effective without hurting UX.
Further down, you’ll see add-ons like Country and Keyword filters, Custom Captcha, reCAPTCHA, hCaptcha, Cloudflare Turnstile, and Akismet. Since I enabled reCAPTCHA globally, you don’t need to add anything else here for a basic setup.
One last best practice: improve email deliverability by using a domain-based “From” address and an SMTP plugin so notifications don’t land in spam.
5. Add Your Contact Form to Your Website
Saving the form stores it in your site, but it won’t appear on a page until you embed it. In the form builder, click Embed at the top to place it on a page.
Clicking Embed gives you two options: Select Existing Page or Create New Page.

To add your new contact form to your website:
- Select Create New Page.
- Name your page “Contact Form.”
- Click on I’m Ready.
Success! Your page is created with the form embedded. You’ll see a preview immediately.
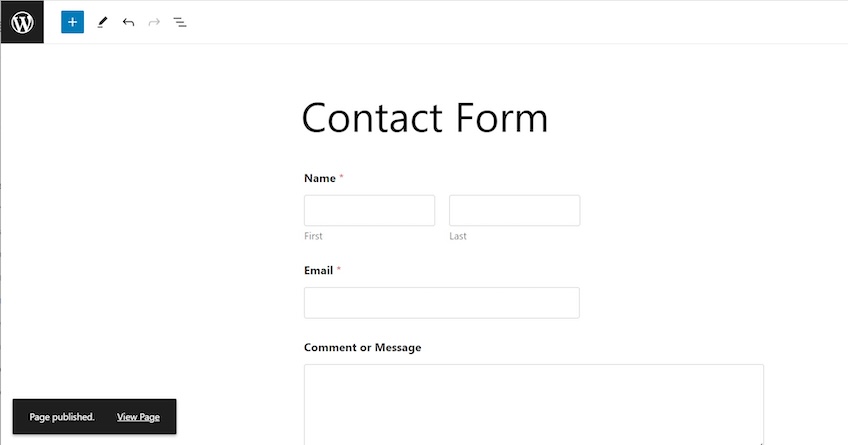
If the form looks plain in the editor, don’t worry—your theme styles will handle typography and spacing on the live page. Click View Page to see it in your site’s design.
That’s it—you now have a fully functional, spam-resistant WordPress contact form powered by WPForms.
Do I Need to Make My Contact Form Spam-Free?
Yes—every public form will receive spam. The right mix of protections depends on your goals and tolerance for friction.
In the steps above, I used two layers:
- CAPTCHA (like reCAPTCHA, hCaptcha, or Cloudflare Turnstile).
- Invisible spam protection built into WPForms.
More aggressive filters can cut more junk but may also hide a rare legitimate message. Start with the basics and tighten if needed.
If spam persists, consider adding an anti-spam suite such as Akismet Anti-spam: Spam Protection or enabling keyword/country filters. Hosting-level firewalls can help, too.
Do I Really Need a Plugin to Set Up a WordPress Contact Form?
In WordPress, you generally have three paths to add a contact form:
- Use a plugin to create a WordPress contact form.
- Host your website on WordPress.com.
- Develop a contact form on your own.
For most sites, a plugin is the fastest, most flexible, and most future-proof option.
Hosting Your Website on WordPress.com
WordPress.com includes built-in form options (via its Form block) and, on higher-tier plans, supports third-party plugins. That said, many businesses prefer self-hosted WordPress for full control over plugins, branding, and monetization.
If you want maximum flexibility with fewer platform limitations, consider a reputable self-hosted provider. There are many excellent WordPress hosts that make setup simple. And if a built-in form is a priority, explore other blogging platforms as well.
Developing a Contact Form on Your Own
You can code a form yourself. With HTML, CSS, and JavaScript, you can build the UI; with PHP and MySQL, you can store and process entries. WordPress is open source, so you can customize as needed.
However, a production-ready form requires much more than fields and a submit button: accessibility (labels, focus states, ARIA), validation and sanitization, rate limiting, spam defenses, secure storage, privacy controls, and reliable email delivery. For most people, a well-supported form plugin is the pragmatic choice.
What’s Next?
Adding a contact form is one key piece of building a great WordPress site. Now that people can reach you, tighten the experience: write a clear success message, route notifications to the right inbox, and add another channel (like a dedicated support form) if needed. Then explore other great WordPress plugins to extend your site even further.
Pro Tips: Deliverability, Accessibility & Testing
- Use SMTP (or a transactional email service) for reliable mail. Configure an SMTP plugin and send from a domain-based address (e.g., forms@yourdomain.com). If possible, route through a service like Postmark, SendGrid, Mailgun, or Amazon SES and set up SPF, DKIM, and DMARC for best deliverability.
- Make it accessible. Keep labels visible, provide helpful error messages, and test with keyboard navigation and screen readers.
- Confirmations that reassure. After submit, show a friendly message that states when someone will respond and link to helpful resources.
- Place it where it’s expected. Add the form to a “Contact” page linked in your main navigation and footer. Consider embedding a shorter version on your About page.
- Test end-to-end. Submit from desktop and mobile, try invalid inputs, and verify that notifications arrive and that your CRM receives data if connected.