I remember the very first website I ever launched — a humble blog I built from scratch.
After getting it live, everyone kept telling me to install Google Analytics. So I did.
A few days passed. Not much happened.
Then… suddenly… I got my first visitor! It felt surreal. Someone had actually viewed something I created — a total stranger!
Except it turned out to be a false alarm. Google Analytics had tracked one of my own visits. Cue the facepalm.
But a few days later, the real traffic started to trickle in. I’ll never forget the rush of realizing people were actually interested in what I’d built. That’s when my daily routine began: checking Google Analytics over breakfast became my new ritual.
Watching traffic flow to your website is incredibly addictive.
Google Analytics (now Google Analytics 4, or GA4) shows you how many people are visiting your site, where they’re coming from, and what content they’re engaging with.
And here’s the kicker — it’s completely free.
That’s right, Google gives everyone access to one of the most robust analytics platforms on the planet — no cost, no strings attached.
Well, maybe one string.
Google Analytics can feel overwhelming at first. With lots of reports and powerful features, it’s easy to get lost.
But here’s the good news: you don’t need to learn everything on day one.
Even if you never touch the advanced features, you’ll get valuable insights from a handful of basics. Getting started is much easier than most people expect.
Once you create your account and connect Google Analytics to your site, you’ll immediately begin collecting actionable data — no complex customizations required.
3 Steps to Set up Google Analytics
There are just three core steps to get started, and I’ll walk you through each one below.
- Get your Google Analytics tracking code
- Install your Google Analytics tracking code on your site
- Confirm Google Analytics is working correctly
Step 1: Get Your Google Analytics Tracking Code
Yes, Google Analytics is still free — and setting up an account is straightforward for anyone with a Google account.
I’ll guide you through creating your account, completing the initial setup, and locating your Google tag (the snippet of code that enables Google Analytics 4 tracking on your site).
Start by heading to this page.
Log in with your existing Gmail or Google Workspace account. Don’t have one? You can easily create one.
Begin the sign-up process, then create a GA4 property and a Web data stream for your website. This is where you’ll find your install instructions.
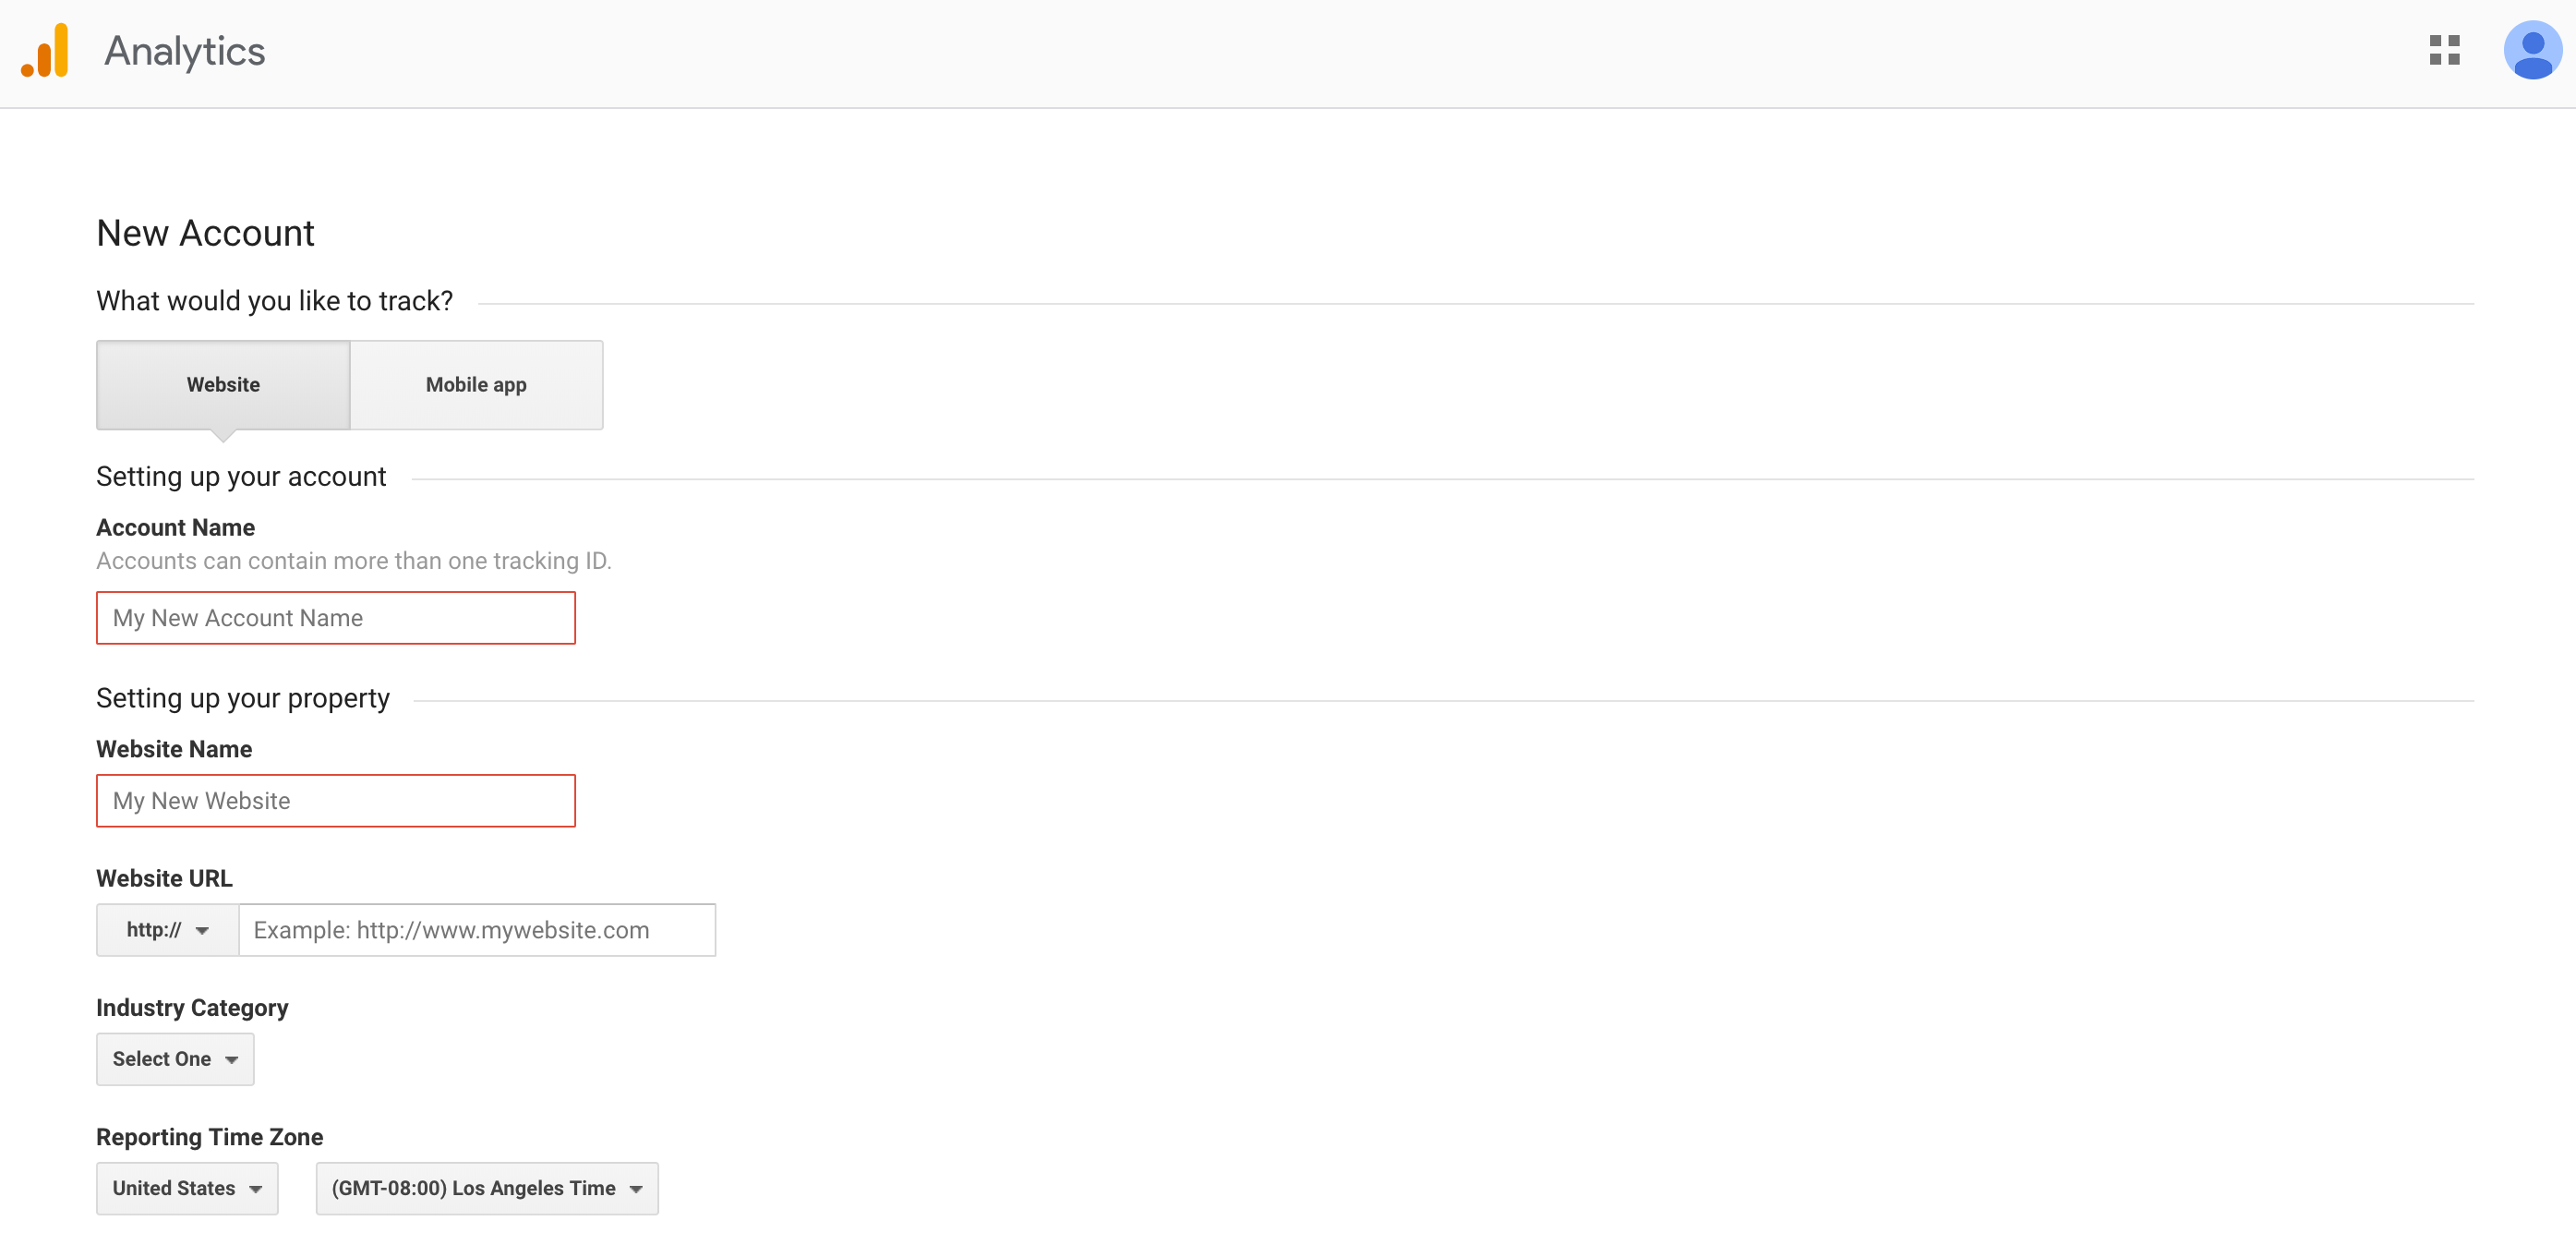
After completing your account setup, open your Web data stream to view your Google tag instructions and your Measurement ID (formatted like G-XXXXXXXXXX).
The Google tag (often referred to as gtag.js or simply “Google tag”) is what you’re after. This is the code snippet you’ll add to your site to start collecting analytics data.
Also make a note of your Measurement ID — many site builders and WordPress plugins let you connect Analytics using just this ID.
Before you move on, make sure “Enhanced measurement” is switched on in your data stream so GA4 automatically tracks common interactions like page views, scrolls, outbound clicks, site search, video engagement, file downloads, and basic form interactions.
No additional setup is needed at this stage. You’re now ready for installation.
Step 2: Install Your Google Analytics Tracking Code on Your Site
Now that you have your Google tag and Measurement ID, let’s get them installed on your website.
In simple terms, the Google tag needs to run on every page of your website as it loads. This allows Analytics to track visitor behavior and send data to your GA4 property.
How you install it depends on the platform or CMS your site uses. Let’s break it down.
WordPress Sites
If your site runs on WordPress, you’ve got a few reliable options for adding Google Analytics 4.
The easiest method is to install a plugin like “Site Kit by Google” (official), “MonsterInsights,” or another GA4-compatible connector.
Once installed, go into the plugin settings and either connect your Google account or paste your Measurement ID. Done.
You can also check if your WordPress theme supports header scripts. Many modern themes include a box where you can paste the Google tag. This injects the tag into every page automatically.
That’s the method I prefer — no extra plugin required, fewer moving parts.
If your theme doesn’t support header injection or you’d rather use a plugin, that’s totally fine too. Either method works great.
Ecommerce Sites
Running an ecommerce site? Most platforms like Shopify, BigCommerce, and WooCommerce have straightforward GA4 installs.
Typically, all you need is your Measurement ID. Paste it into the designated field or follow your platform’s Google tag instructions, and you’re good to go.
For Shopify specifically, you can install the Google tag using Customer events (recommended) or by pasting the tag in your theme’s <head>. Shopify’s help doc walks you through the process. Shopify remains my top-rated ecommerce platform — if you’re not on it yet, now’s a good time to switch.
All Other Sites
Using a website builder like Squarespace, Wix, or Webflow? These platforms usually offer an easy GA4 integration in their site settings — paste your Measurement ID or Google tag where prompted.
If your site is hand-coded, paste the Google tag inside the <head> tag of every page. Not comfortable editing code? A developer can handle this quickly.
What about Google Tag Manager? Should You Use It?
Short answer: use it if you plan to manage multiple marketing and analytics tags — otherwise, direct installation is simpler.
Tag managers like Google Tag Manager are built for teams juggling dozens of scripts across multiple sites. They provide central control, permissions, versioning, and cleaner workflows for advanced tracking setups.
Instead of installing each script directly on your site, you install one Tag Manager container, then manage all other scripts from inside your Tag Manager dashboard.
Advantages include:
- Advanced user permissions for controlling who can change tags
- One centralized location to update, disable, or remove old scripts
- Lets marketers make changes without developer help
- Fine-tuned control over where and when scripts load
Google Tag Manager is the industry standard for medium to large businesses and any site running multiple tags, conversion tracking, or consent controls.
If you’re part of a marketing team at a larger company, definitely use it.
If you’re a solopreneur or small business owner with only a few scripts, skip it for now. Directly installing the Google tag is faster and easier.
- You don’t need complex permissions for a team of one or two
- You likely use fewer than five marketing scripts total
- It removes an unnecessary learning curve at the start
So keep it simple: install Google Analytics directly unless you know you need Tag Manager.
Step 3: Confirm Google Analytics Is Set Up Correctly
Here’s something most beginners don’t realize: Google Analytics doesn’t display most data immediately. Standard reports can take up to 24 hours to reflect new activity.
So if you install the code, visit your site, and don’t see anything in your reports right away — don’t panic. Give it a day to process.
That said, GA4 offers two fast ways to confirm tracking is working: Realtime and DebugView. They let you validate within seconds.
To use Realtime, go to “Reports > Realtime” in your Analytics dashboard. The Overview shows active users currently on your site.
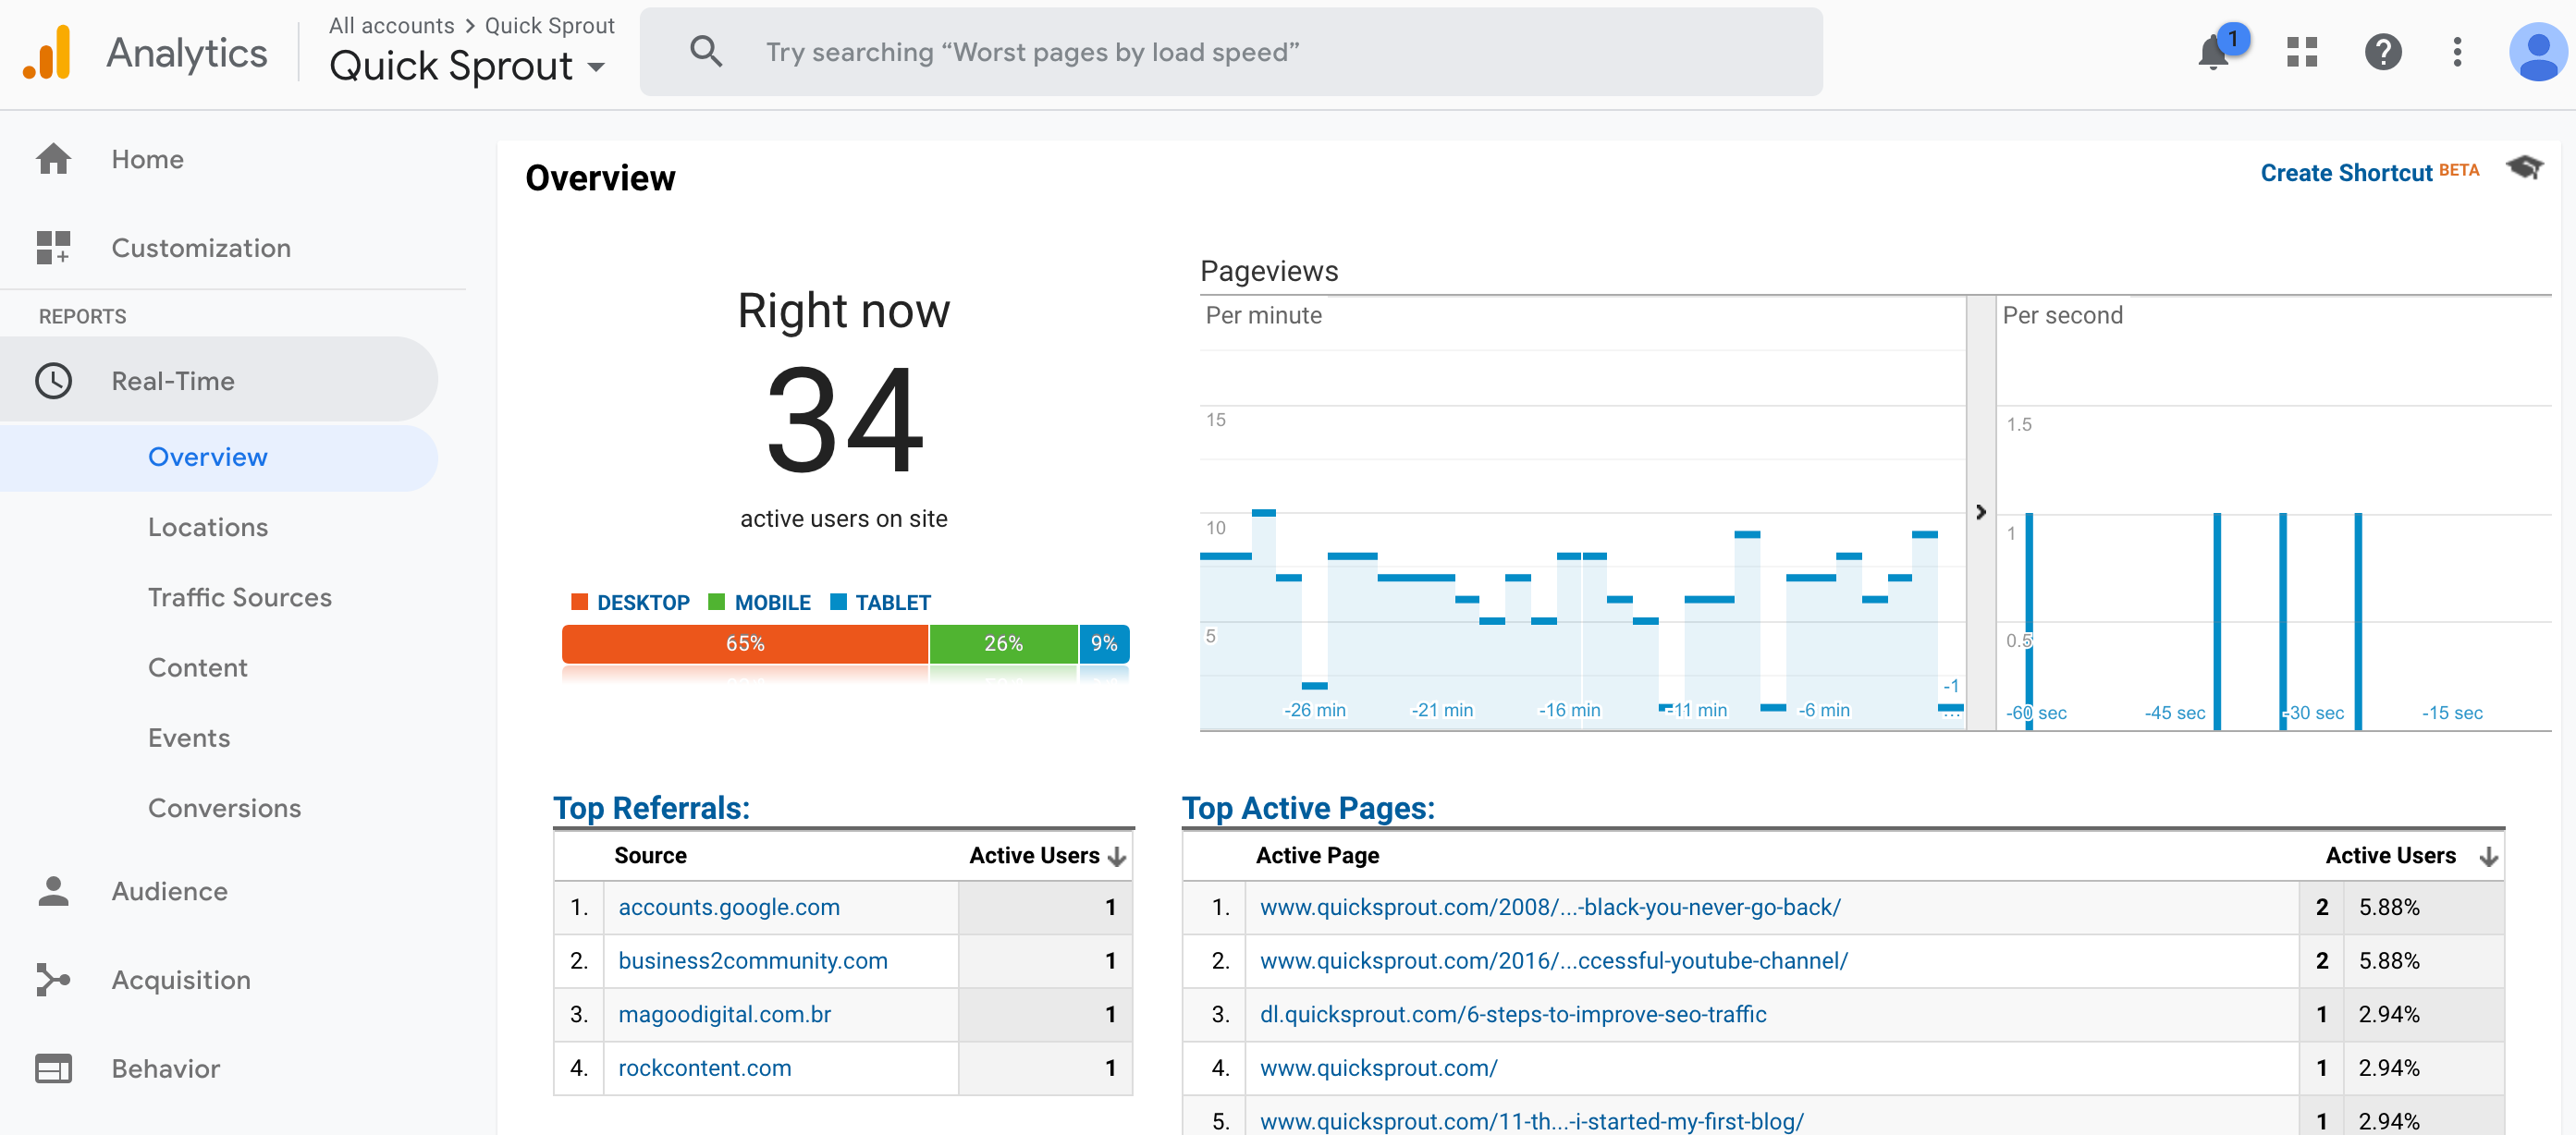
Open your Realtime report in one browser tab. Then, in a separate tab, visit a few pages on your site. If everything is working, you’ll see your activity appear in Realtime within seconds.
For deeper validation, go to Admin > DebugView. With a GA4 debug extension or a browser/dev environment that sets debug_mode, you’ll see detailed, event-by-event tracking to confirm page views, scrolls, and clicks are firing.
Prevent Skewed Data from Day One
Two quick best practices will keep your data clean:
- Exclude internal traffic: In GA4 Admin, first define internal traffic in your Data stream (list your IPs), then create an Internal traffic Data filter and set it to Active so your own visits don’t inflate pageviews.
- Check consent and ad blockers: If you rely on consent banners (especially for EU/EEA visitors), ensure the Google tag runs only after consent is granted and that your banner supports Google’s Consent Mode (v2) for accurate modeling with Ads integrations. Some ad blockers can also hide your tag; validate using multiple browsers.
Once you see data flowing in, congrats — you’ve successfully installed Google Analytics 4. Now you can track and optimize your site’s performance with confidence.