Many factors influence a customer’s decision-making, from trust signals to ease of purchase.
So how do you get shoppers to choose your store over a competitor?
By shaping their opinions with credible, visible proof.
You can do this by leveraging social proof across your site, ads, and social channels.
The goal is to create a positive perception of your brand—powered by “safety in numbers.”
Imagine a prospective customer searching for a product online.
They know what they want but haven’t decided where to buy.
What will they compare?
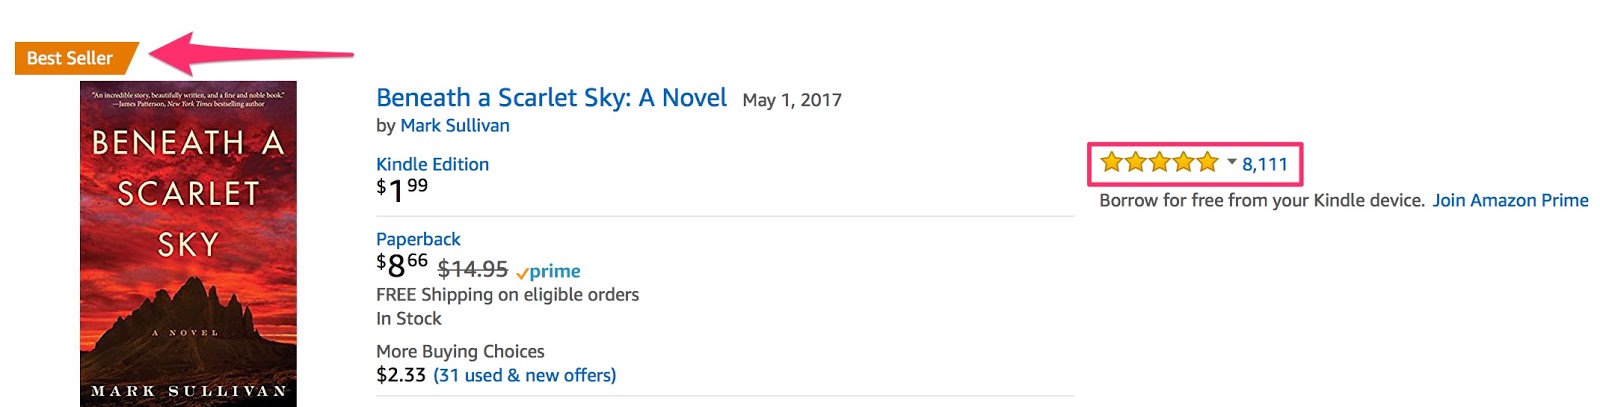
Company A has 500+ recent reviews. Company B has 7.
Which brand looks safer to try?
Obviously, the company with more (and more recent) reviews will feel more credible to a new customer.
Volume and recency signal reliability.
If hundreds of real people took time to rate you, the brand feels legitimate.
Product quality still matters, but discoverability and trust signals often determine who gets the click.
Company B might have a better product—but without proof, it gets overlooked.
Quality is essential, and social proof amplifies it.
If you sell something faulty or misleading, social proof will backfire and spread negative sentiment fast.
Hundreds of negative reviews can tank conversions—so always start by improving the product and support.
No matter your industry or current reputation, here’s how to use social proof to lift conversions.
I’ll start with the basics.
What is social proof?
Social proof is the modern version of herd mentality applied to buying decisions.
People look to peers—reviews, ratings, experts, creators, and communities—to decide what’s safe and worth it.
See enough people choose something, and the choice feels right. I follow suit.
I like to think I’m a purely independent thinker. In reality, I use others’ experiences to reduce risk.
It doesn’t govern every life choice, but it’s huge in commerce.
And that’s a good thing—you can use social proof to ease anxiety and help prospects decide.
The best part: strong proof makes customers feel confident after purchasing, which reduces returns and churn.
But not all proof is equal.
Some formats and placements persuade far more than others. Even where you put proof on the page affects conversions.
Below are 17 practical ways to add social proof to your brand today.
1. Use celebrity and creator endorsements
“Celebrity” doesn’t have to mean global superstars.
Landing Jay-Z, Shaquille O’Neal, or Tom Cruise is unrealistic for most brands—and mega-celebrity fees can run well into six figures per post.
Focus on creators and niche influencers with loyal audiences on platforms like Instagram, YouTube, TikTok, and X.
Here’s an example of how Bose partnered with Russell Wilson to demonstrate a product in a memorable way:

Hundreds of thousands of views create instant credibility.
If a trusted public figure shows it working, the product feels safer to try.
Important: disclosure rules were updated in 2023. The Federal Trade Commission’s Endorsement Guides now emphasize clear and conspicuous disclosures that are hard to miss—inside the content itself (e.g., on-screen/text + audible in videos where appropriate), not just in captions. Use simple language like “Ad,” “Paid partnership,” or “I received this product free.”
Don’t overlook “local celebrities” and micro-influencers.
Scan your followers for creators with 10k–50k+ engaged fans.
DM them to explore ambassador deals or long-term partnerships.
Micro-influencers often deliver higher engagement and more authentic content than mega accounts.
Why? Smaller communities interact more, and creators can reply and build real relationships.
Bottom line: find creators who genuinely like your product, give them a clear brief, and let them showcase it naturally.
It doesn’t have to be Justin Timberlake—consistent endorsements from the right creators compound trust.
2. Proudly display your best numbers
Let hard numbers do the talking.
How many customers you’ve served. Total orders shipped. Dollars saved. Uptime. NPS. Star ratings. Downloads.
Put the most compelling stats on your homepage, product pages, and checkout.
Here’s an example from Nosto:
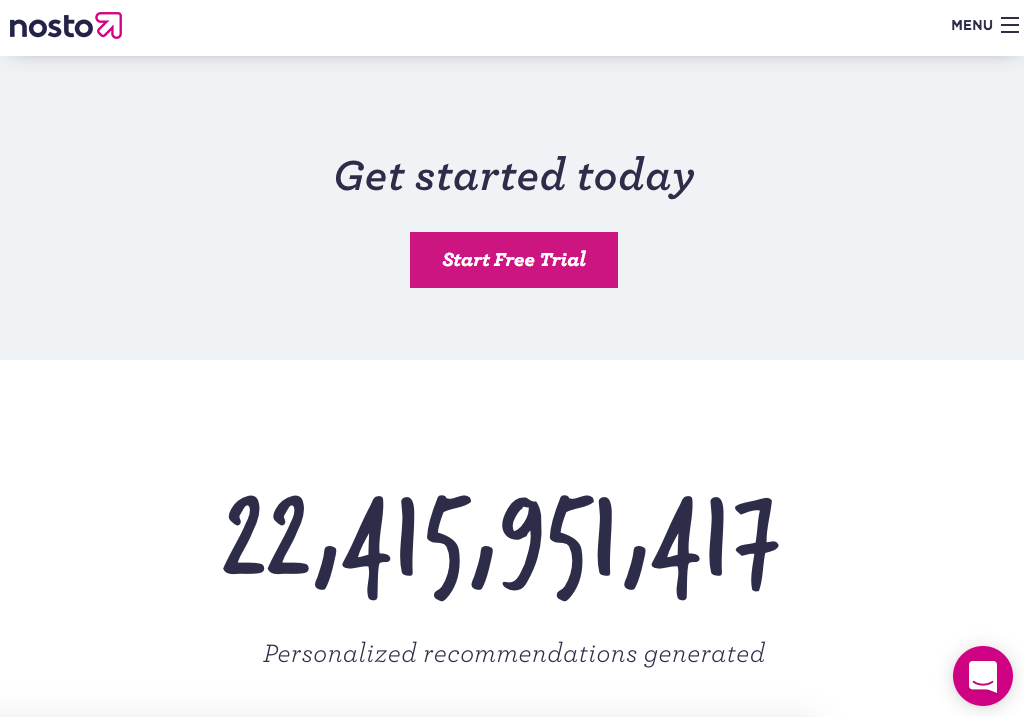
“22 billion” is a signal of scale that instantly conveys trust.
Other high-impact ideas:
- Total savings customers achieved using your product (with a simple methodology note).
- Community size: email subscribers, active users, or members.
- Customer satisfaction metrics (e.g., average rating, % of 5-star reviews).
If a number isn’t impressive yet, leave it out and highlight a different strength.
For example, don’t showcase “450 followers on Instagram.” Build that channel first.
Focus on proof you do have—like fast shipping times, customer satisfaction, or total orders fulfilled.
If you have 30,000 followers on X (formerly Twitter), feature it. If not, spotlight metrics that shine.
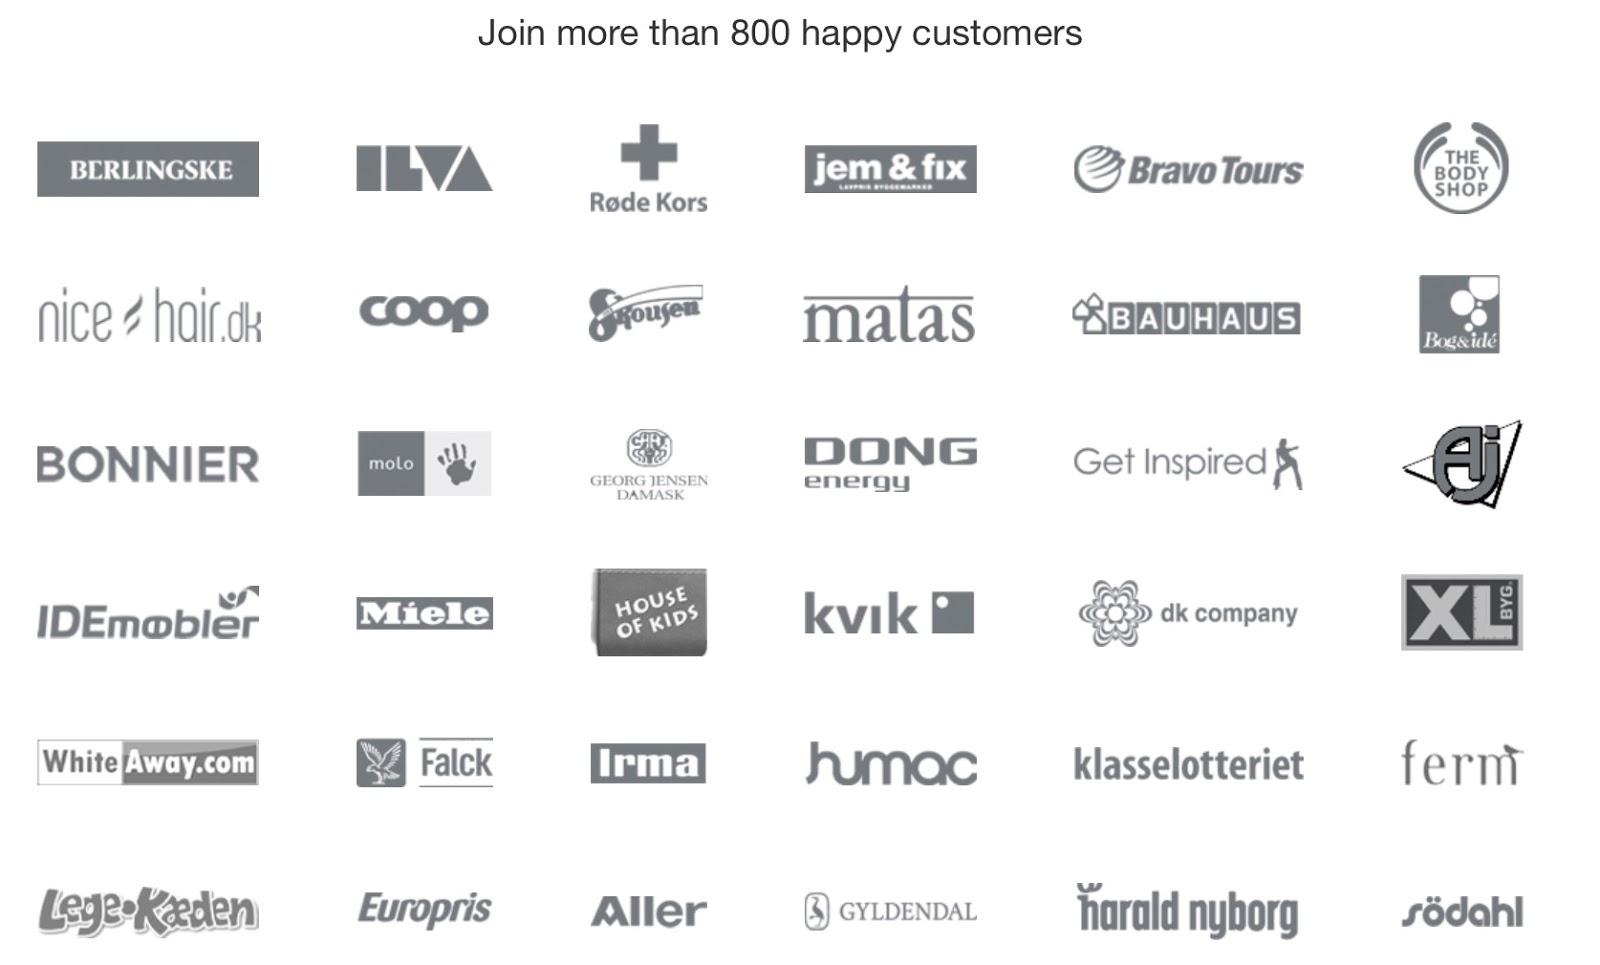
Here’s another example:
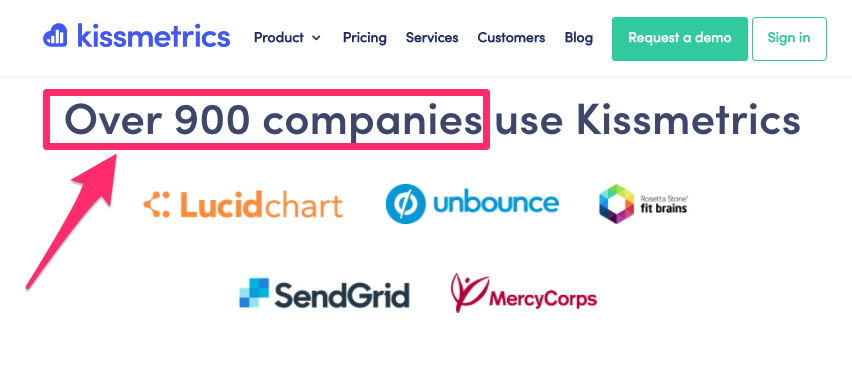
Showing how many companies rely on the platform instantly creates social proof.
“10 companies” would underwhelm, but “900+” signals maturity.
Identify your most persuasive stats and surface them where buying decisions happen.
3. Display visual proof of your product in action
Photos and short videos are powerful social proof.
They collapse skepticism by showing—not telling—what your product can do.
Remember the Bose example above?
Seeing speakers underwater communicates “waterproof” better than any line of copy.
Before-and-after photos are especially effective for transformation products.
Proactiv has leaned on this approach for years:
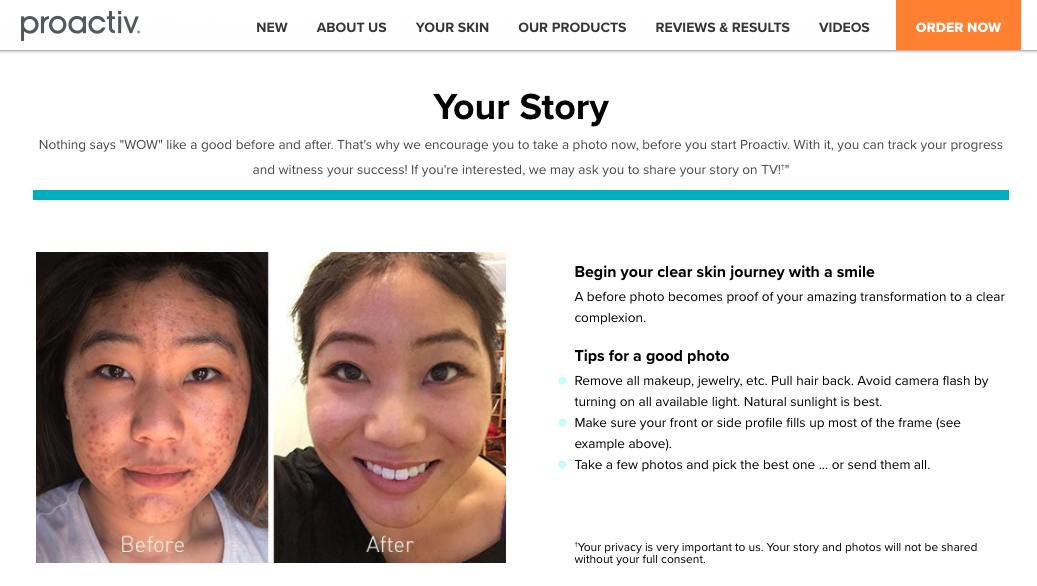
Invite customers to upload their own before-and-after shots and short stories.
Peer photos reduce doubt because they feel unfiltered and relatable.
It’s a great idea—especially when paired with quick mini-stories about the journey.
Storytelling is a proven way to engage and persuade undecided shoppers.
Think about your offers: what visual proof would remove doubt fastest?
Carpet cleaners: dirty rug vs. clean rug. SaaS: screen recordings of outcomes. Fitness: real progress timelines.
Here’s another example from a fitness company:
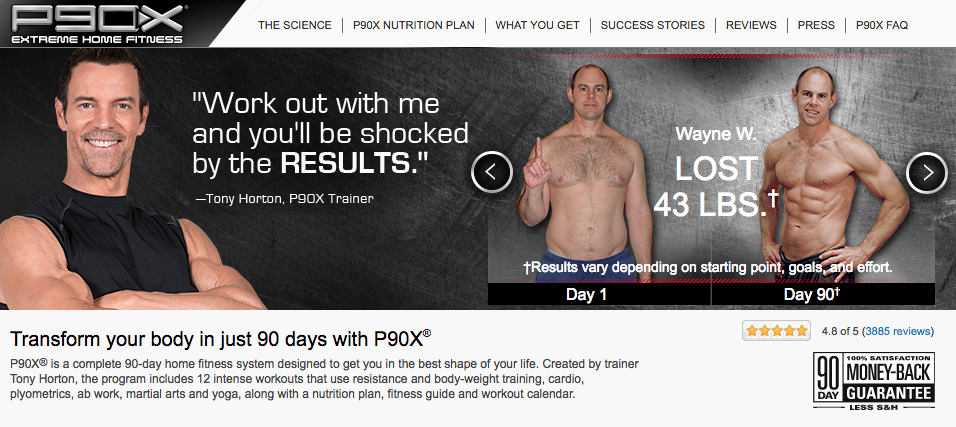
If you look like the person on the left, the brand promises a proven path to the person on the right—often with guarantees to reduce risk.
Visual evidence converts. Add it to product pages, ads, emails, and landing pages.
4. Give customers incentives to write reviews
User photos and ratings multiply the impact of your visuals.
Some shoppers won’t write full reviews—but you can nudge more feedback with smart prompts and perks.
People often research brands and locations on:
- Yelp (note: Yelp prohibits businesses from asking customers for reviews—do not solicit on Yelp)
- Angi (formerly Angie’s List)
- Tripadvisor
- Google Business Profile (primary for local search)
Create or claim profiles wherever your audience already searches for proof.
The more places customers can vouch for you, the more likely prospects are to see you as credible.
Different buyers trust different platforms—meet them where they are.
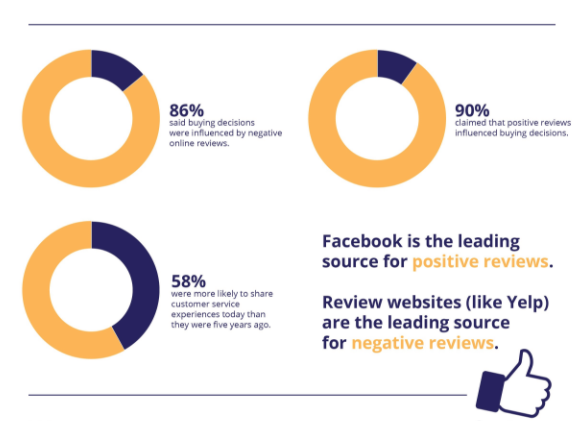
Encourage reviewers to upload photos and short clips with their feedback.
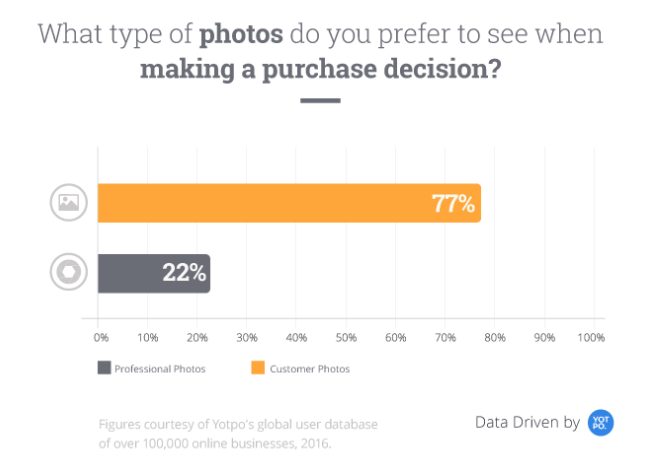
As the graphic shows, real user photos carry more weight than polished brand photography.
Customers assume your official images are curated—peer content feels more honest.
To get more reviews, ask directly—across in-store signage, receipts, post-purchase emails, and SMS. Avoid “review gating” (only asking happy customers) and never require a positive review for an incentive—both practices violate platform policies and FTC guidance.
If you have a physical location, train staff to say, “We’d really appreciate a quick review on Google—thank you!”
For ecommerce, send a follow-up email with a one-click review link and photo upload option.
Here’s how Zappos keeps it simple in email:

Short, direct, and focused on a single action.
Offer a thoughtful incentive when appropriate—points, small credits, or entry into a monthly giveaway. Incentivize the review action (not a positive rating), and always disclose the incentive.
Here’s an example from The Body Shop:
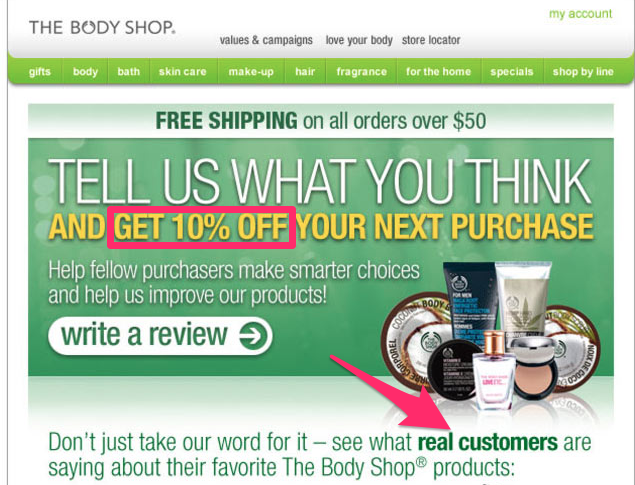
Ethical incentives boost response rates and generate more proof without biasing the outcome.
5. Create surveys and share the results
Not everyone has time to write a detailed review.
Surveys lower the effort: customers can answer a few quick questions and still help future buyers.
Use them to collect star ratings, satisfaction scores, and short quotes you can publish (with permission).
Here’s an example from Nordstrom:
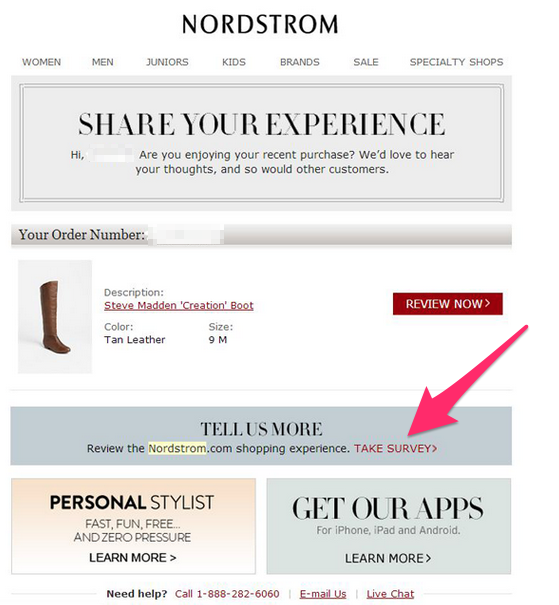
It’s easy to build surveys online.
Try tools like:
Publish summarized results on your site to add another layer of proof.
Here’s how 4Change Energy showcases customer sentiment:
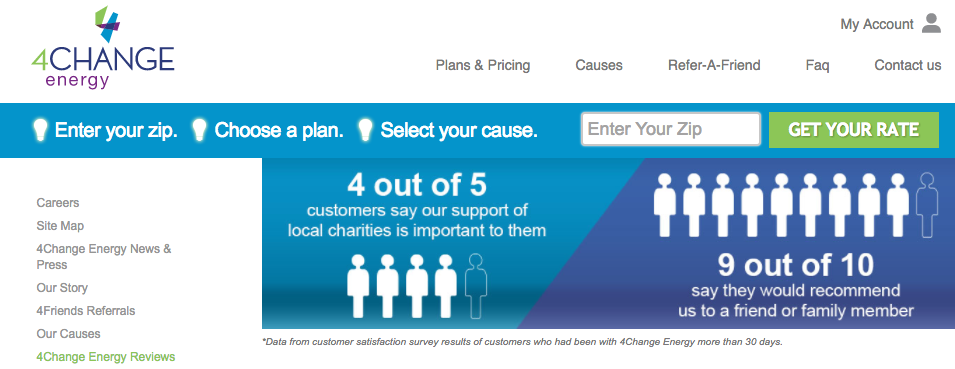
If reviews are hard to collect, surveys can jump-start your proof engine.
6. Display customer testimonials
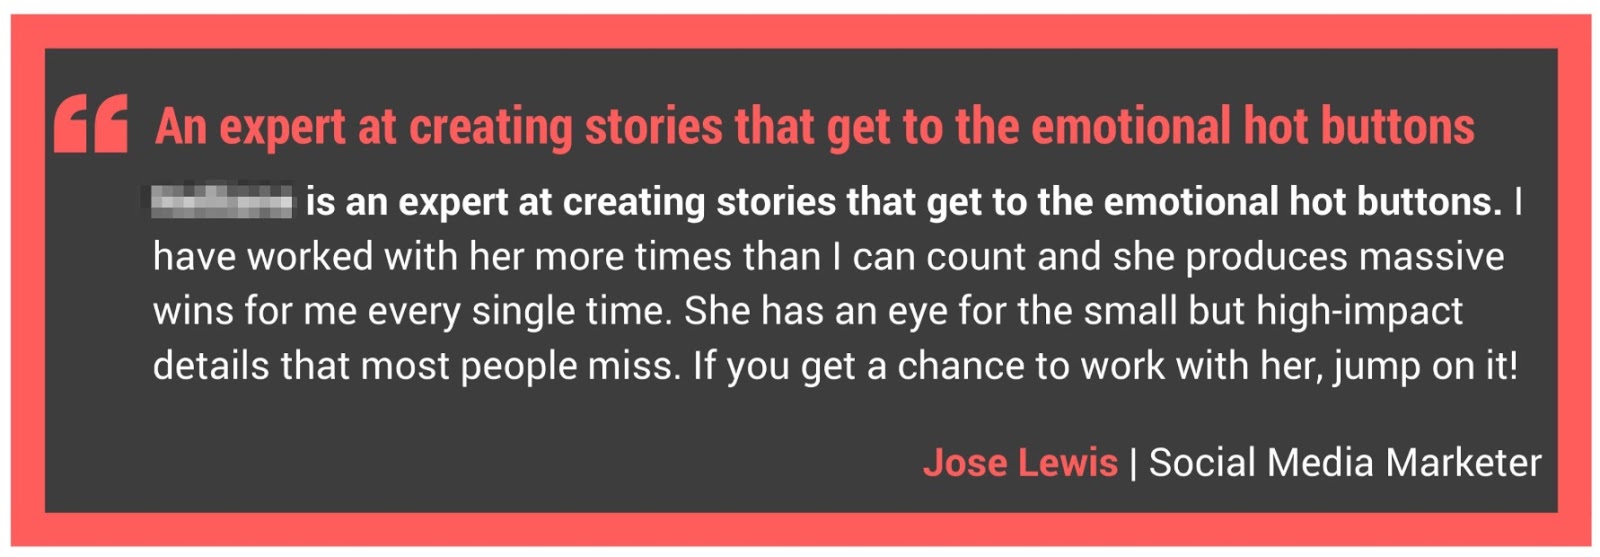
Ask successful customers for a short testimonial that highlights a specific result.
Like this:
Don’t bury testimonials on a single “wall of love” page only.
On their own, they’re supportive but not complete—pair them with a CTA or offer.
High-converting placements include:
- beside a contact or demo form
- right under a call-to-action button
- on order forms and checkout pages
- on sales pages, after you outline benefits or pricing
- on newsletter opt-in forms (great when your list is still growing)
- on your About page to establish credibility
I found a site that rotates testimonials in the sidebar so they appear on every page.
Smart placement.

7. Get testimonials from experts in your industry
Customer opinions are powerful—expert validation can be decisive.
If credible professionals use or recommend your product, ask for a brief testimonial with a concrete result.
Choose experts that make sense for your niche.
Mattress brand? A chiropractor’s perspective is relevant. Running shoes? A physical therapist or coach. Tax software? A CPA.
Potential expert types include:
- Lawyers
- Doctors
- Teachers
- Physical therapists
- Mechanics
Here’s an example:
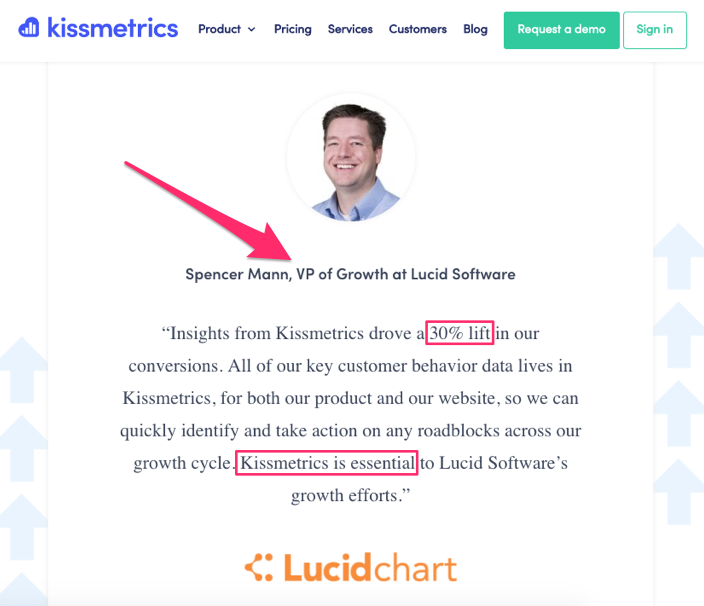
Follow a simple template including the expert’s:
- full name
- company
- title
- photograph
Ask for specifics: “30% lift in conversions,” “reduced back pain in 2 weeks,” or “saved 6 hours/week.”
Specificity makes testimonials far more persuasive.
8. You’re allowed to brag
It’s okay to brag—strategically.
Share wins that establish credibility, not vanity metrics.
Think “featured in,” “industry awards,” “benchmarks achieved,” or “independent rankings.”
I’m not suggesting you boast about revenue—highlight recognition that reduces buyer risk.
Were you featured in a respected publication?
Did a major website cite your research or product?
Check out this example from Roma Moulding:

Forbes Media has global name recognition—mentions like this instantly raise perceived trust.
If outlets like Forbes cover you, showcase it. Logos and quotes belong on your homepage, About page, and key landing pages.
That’s the compounding effect of social proof.
9. Launch a customer referral program
Customers trust recommendations from friends more than ads.
Referrals are social proof in motion—and they convert.
People don’t recommend brands that burned them. A referral implies a good experience worth sharing.
That goodwill transfers to your brand.
Here’s the impact referrals can have on conversions:
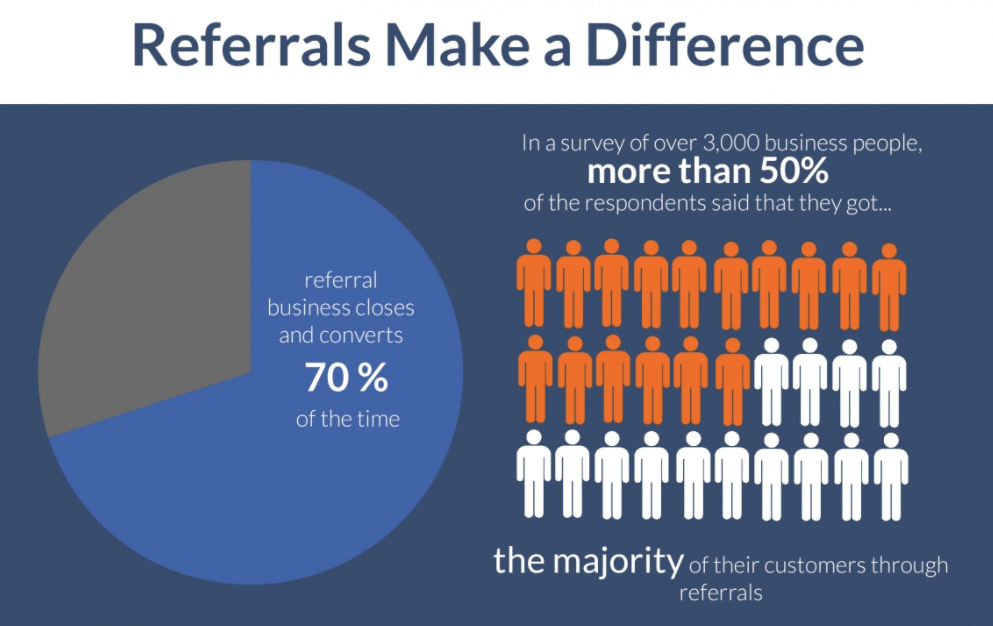
Make sharing effortless and add a small incentive for both the referrer and the friend.
Like Airbnb does:
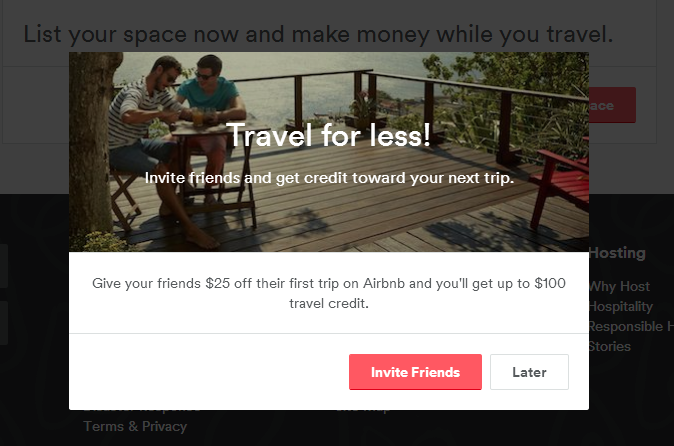
The incentive doesn’t have to be huge—store credit, points, or a discount works.
The key is making sharing simple and rewarding.
It works.
10. Use Facebook for recommendations
Instagram, Yelp, and Google are important—but don’t skip Facebook.
Encourage customers to leave Recommendations on your Page (Facebook replaced star “Reviews” with Recommendations). Friends see that activity, expanding your reach organically.
Think about it: how many followers do you have—and how many friends do they have?
One review can ripple through dozens (or hundreds) of news feeds.
Comments and recommendations on your Page act like mini-endorsements that are easy to discover and share.
To encourage more Facebook proof: reply to comments, thank reviewers, and keep your Page active with fresh posts and stories.
Engagement invites more engagement—and more proof.
11. Case studies
Case studies are among the strongest forms of social proof.
They tell a complete story, showing the transformation—not just the testimonial.
Great case studies walk through:
- life before your product (the pain or inefficiency)
- the trigger that led to trying your solution
- obstacles along the way (and how you helped overcome them)
- the exact solution used (features, plan, timeline)
- the moment of transformation and measurable results
- what life looks like after (maintenance, ROI, time saved)
Does your case study need all of these? Yes—specifics and outcomes make it believable.
Compare this to a generic quote:
I had a great experience working with Jane, and I highly recommend her.
The quote is nice; the detailed story convinces.
Where to put case studies?
Give them a dedicated page and link to it from your main nav. Then embed product-specific mini case studies on relevant sales pages.
Like this:

Here’s another example:

Ramit Sethi uses social proof extensively in GrowthLab:
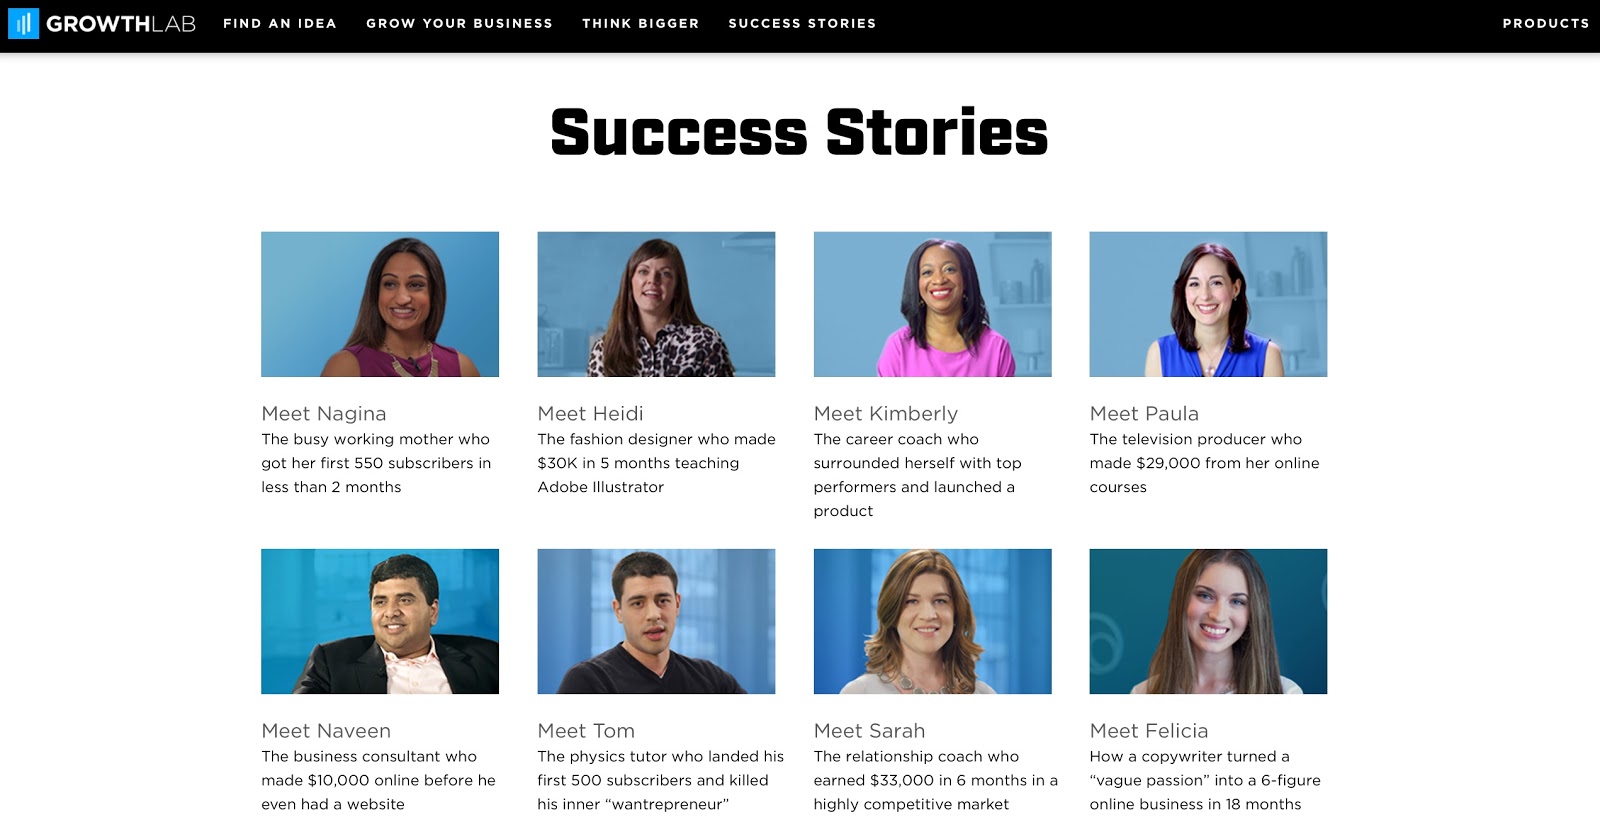
Beyond a dedicated page, weave case studies into:
- sales pages (embed short video case studies)
- FAQ sections (answer objections with “how a customer handled this” stories)
- feature sections (summarize a result and link to the full story)
These placements move buyers from curiosity to confidence.
12. Strength in numbers
Show social counts where they help—blog shares, comments, subscribers, installs, and active users.
It works because people assume high engagement signals high value.
Social share buttons with visible counts are a classic example.

Comments work the same way—hundreds of thoughtful replies equals must-read content.
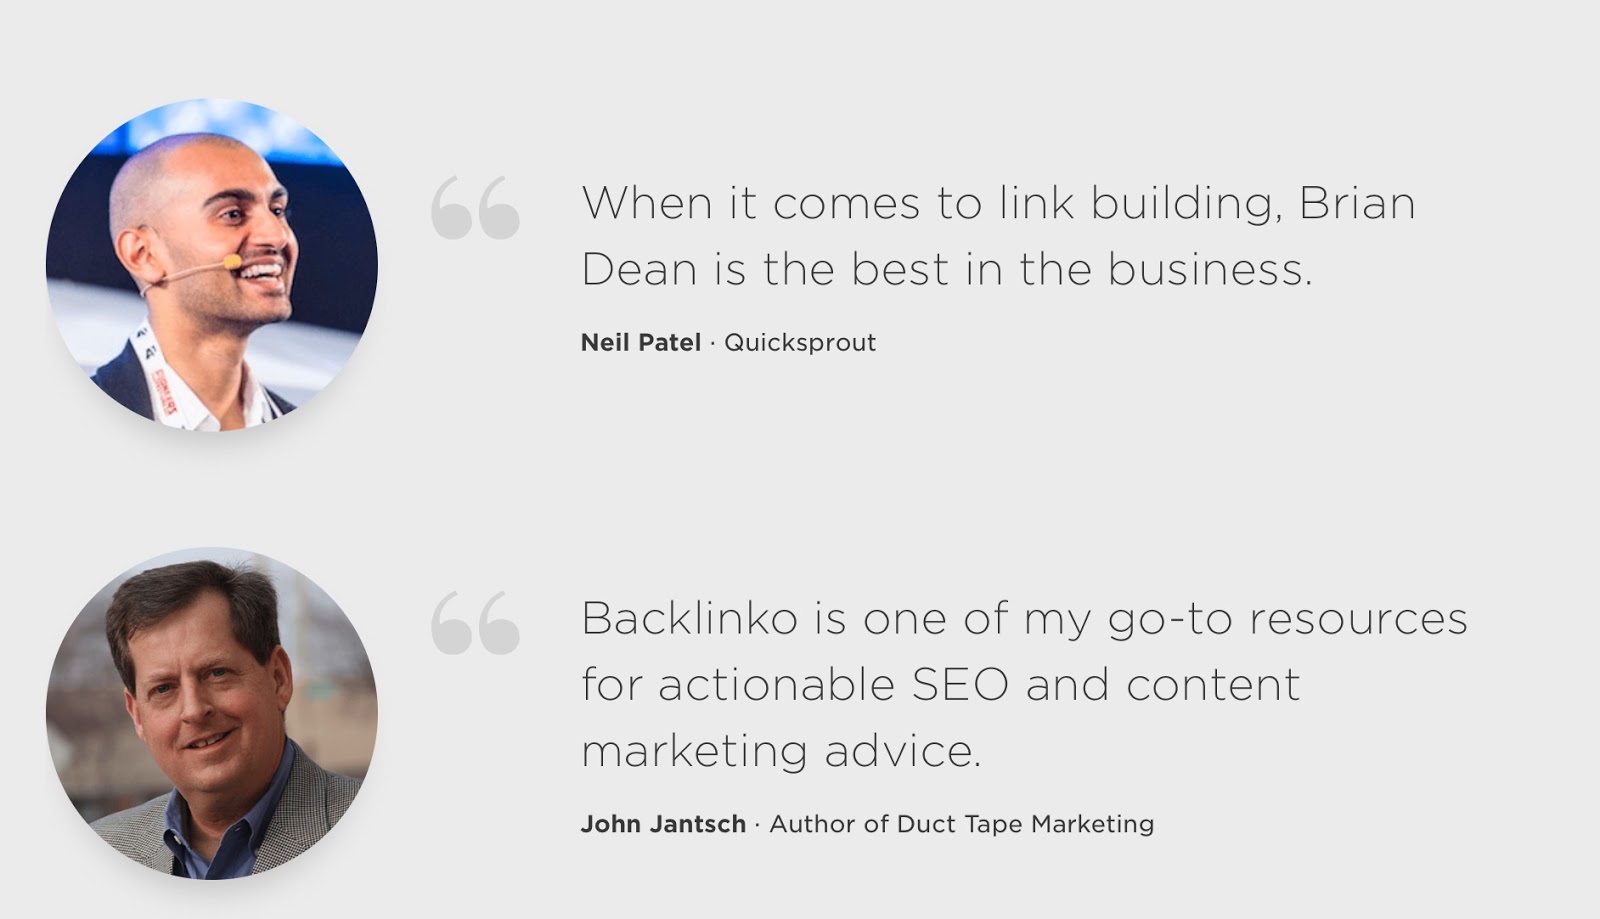
Check out this post by Brian Dean:
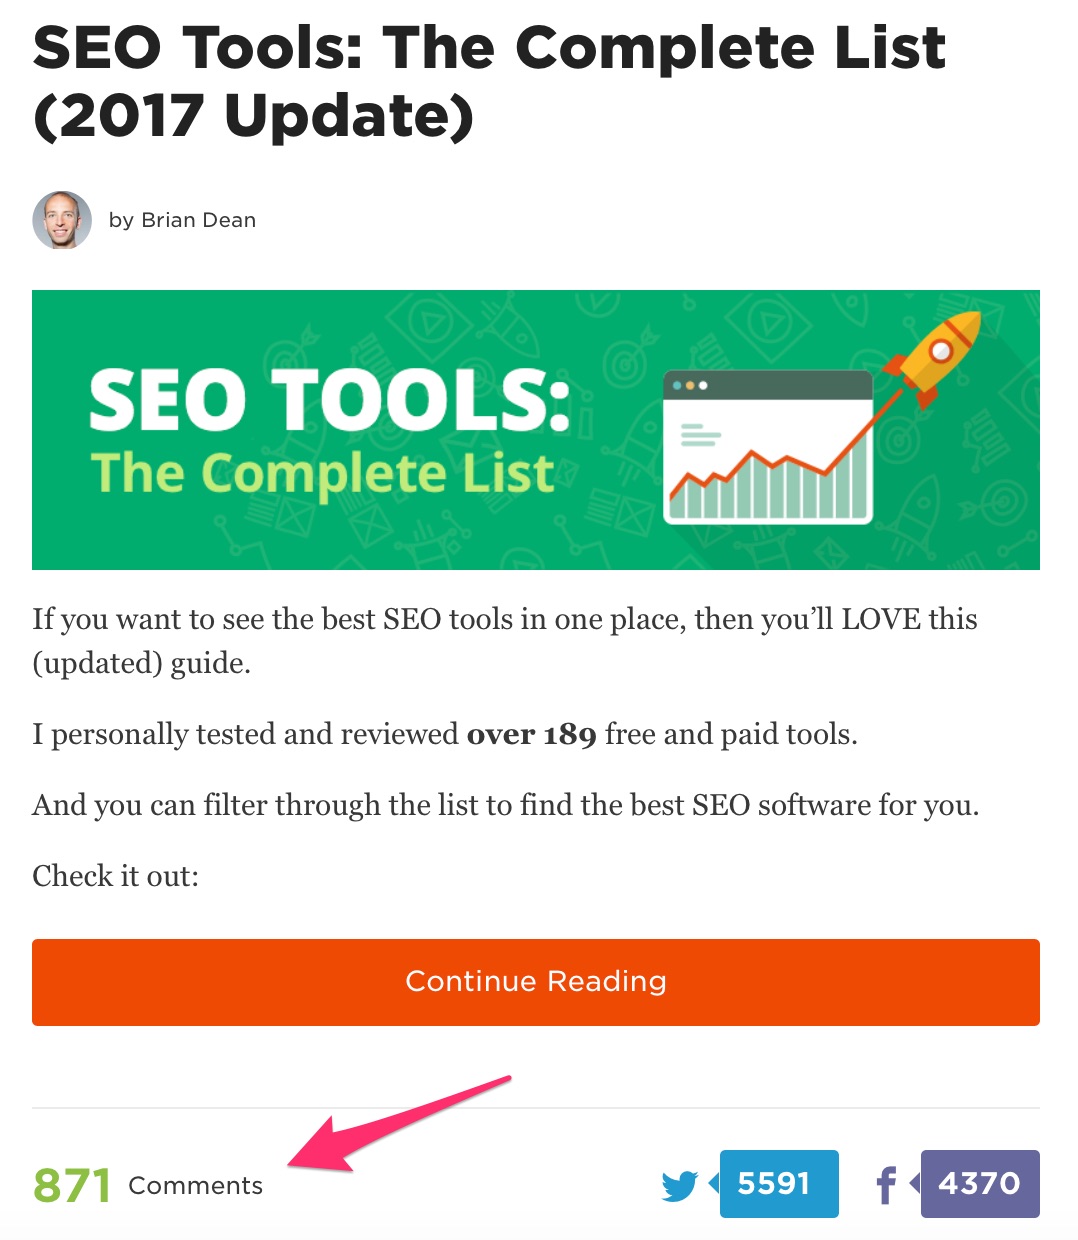
871 comments screams “worth your time.”
But beware of negative social proof.
If a post has zero shares and zero comments, hide counts until you pass a threshold—most tools support this.
Other “strength in numbers” ideas:
- active user counts (updated regularly)
- download totals for apps, tools, or resources
- email subscriber count (if it’s impressive and current)
Subscriber and install counts are powerful—especially when paired with ratings or recent growth.
 13. Endorsements from influencers
 13. Endorsements from influencers
Influencers are trusted authorities in your niche with audiences that listen and act.
A respected endorsement can change a brand’s trajectory.
How to earn one organically:
- Identify the right influencers (values and audience match).
- Engage consistently with their content and community.
- Reach out with a concise, value-first message.
- Do something remarkable for them (data, product access, custom support).
- Ask for a quote or endorsement once you’ve delivered value.
Prefer a faster route?
Hire influencers for sponsored reviews, tutorials, or inclusion in “best of” videos—when it fits your budget and brand. Remember to use clear disclosures per the FTC’s 2023 guidance.
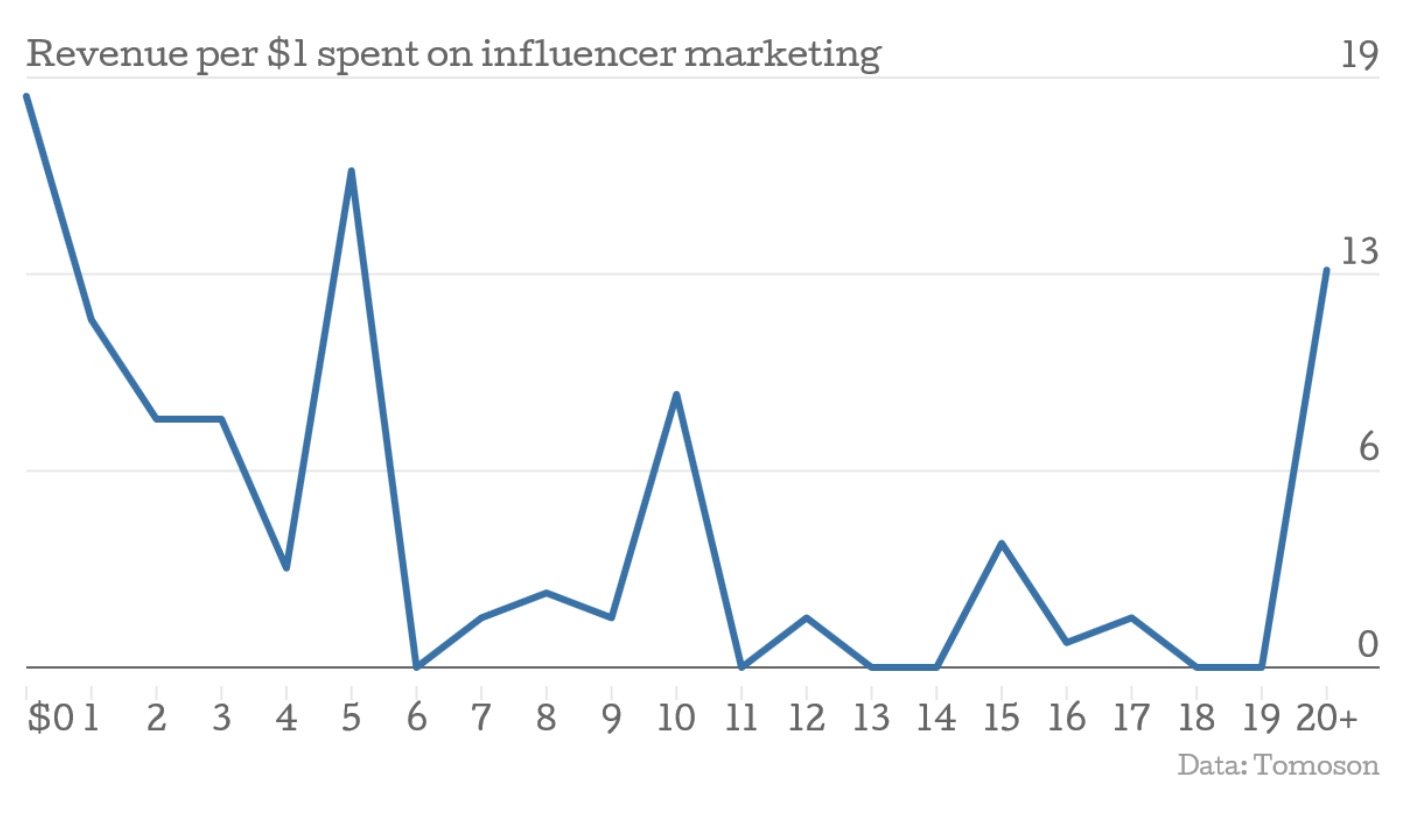
Executed well, influencer marketing can deliver strong ROI compared to traditional ads.
Once you have endorsements, place them on high-traffic pages.
Home and About are prime real estate for recognizable logos, quotes, and creator content:
It signals, “People you trust trust us.”
If someone prominent praised you, don’t be shy—feature it.
14. Media mentions
Many sites feature a row of “As seen in” logos—because it works.
It doesn’t need to be national TV; respected niche publications count.
Here’s an example:
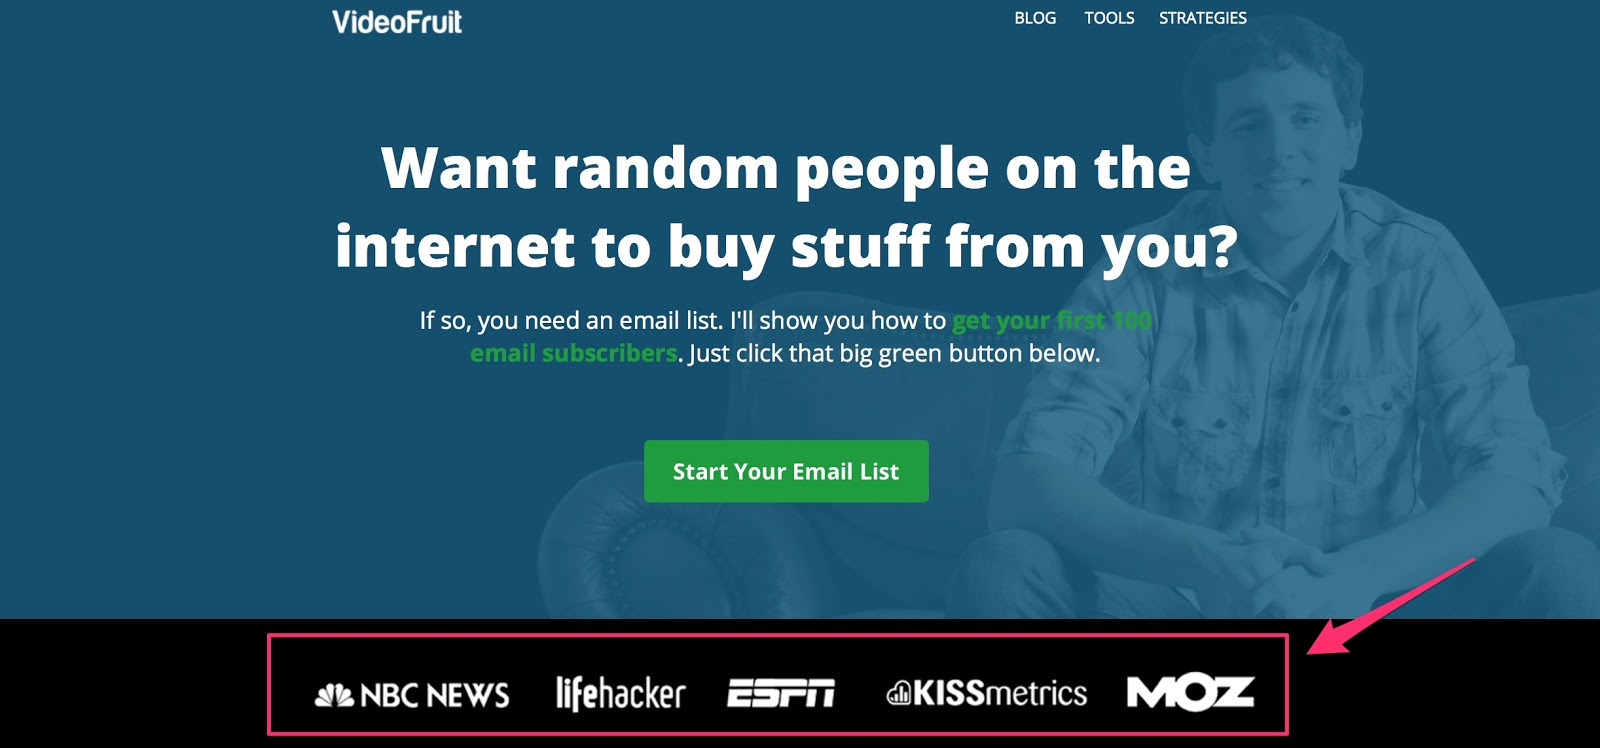
If you’ve been a guest, speaker, contributor, or interviewee, add that logo to your proof strip.
Homepages and key landing pages are ideal spots.
Note: HARO (later “Connectively”) was discontinued in 2024. To land press now, try alternatives like journalist request threads on X/LinkedIn, Qwoted, or Featured.com—and maintain direct relationships with reporters.
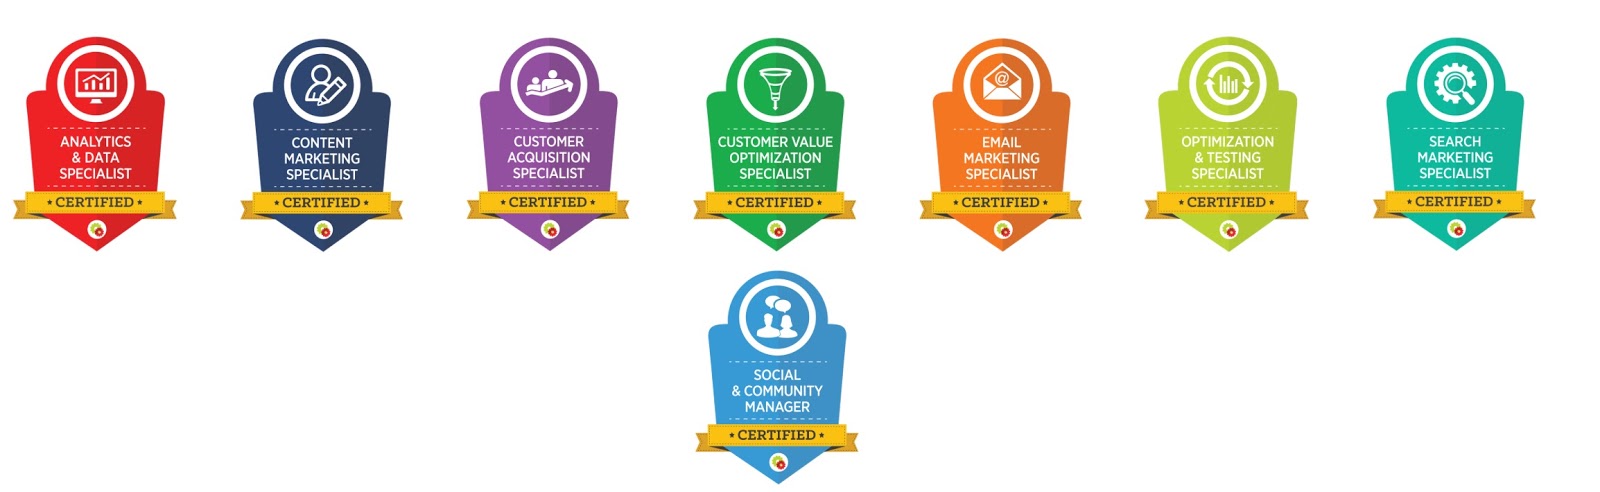
15. Trust seals and certifications
Trust icons reduce friction by signaling safety and competence.
Certifications reassure buyers you meet recognized standards.
Credentials don’t replace results, but they do reduce perceived risk.
Place relevant badges on service pages and near CTAs.
Here’s how Kristi Hines showcases professional badges on a freelance site:
On checkout and pricing pages, add trust seals to calm last-minute doubts.
Common trust signals include:
- SSL certificates
- privacy badges or statements
- money-back guarantees
- major credit card and payment icons
No sales page should go without at least a few of these.
This is where money changes hands—make people feel safe.
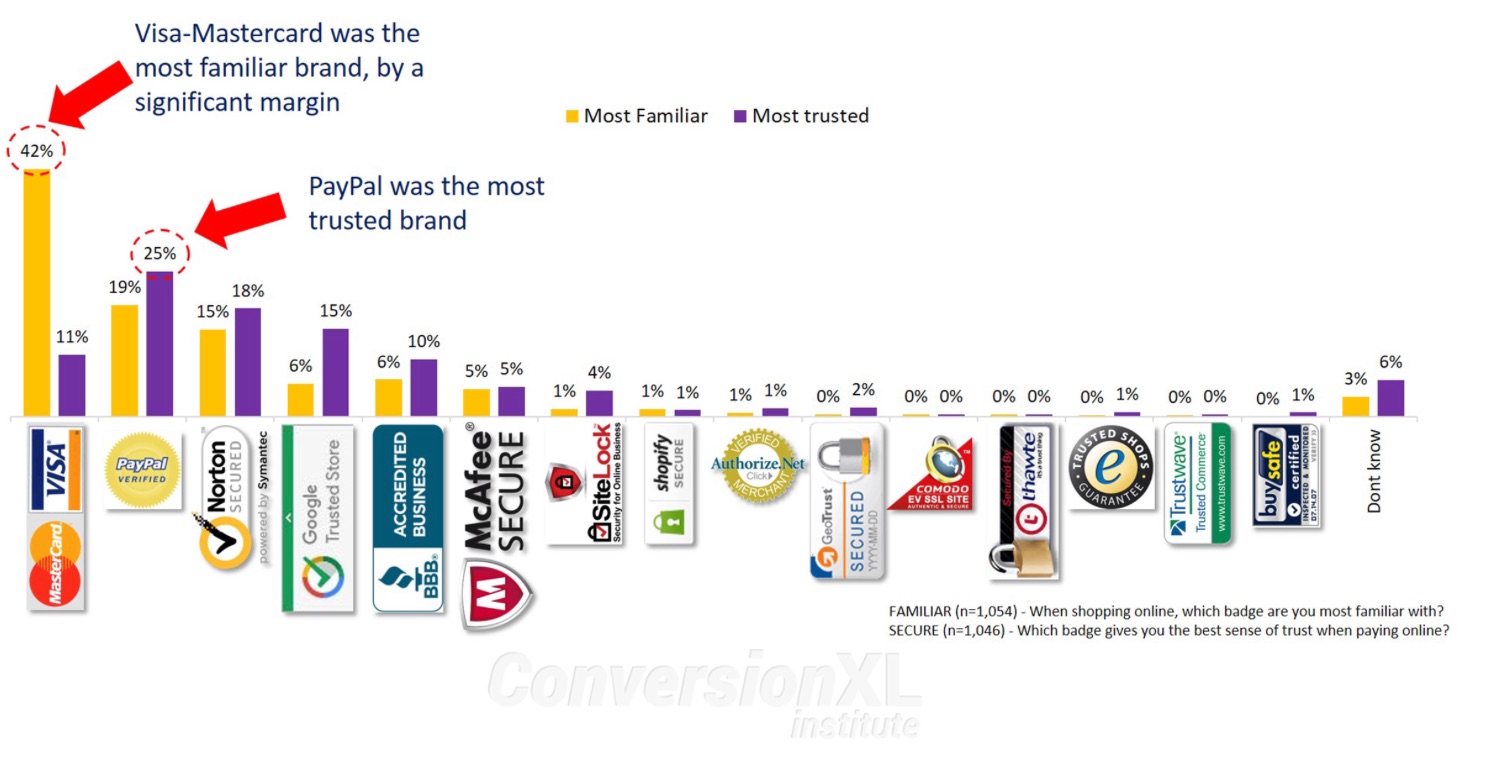
Sometimes familiar payment logos alone increase completion rates:
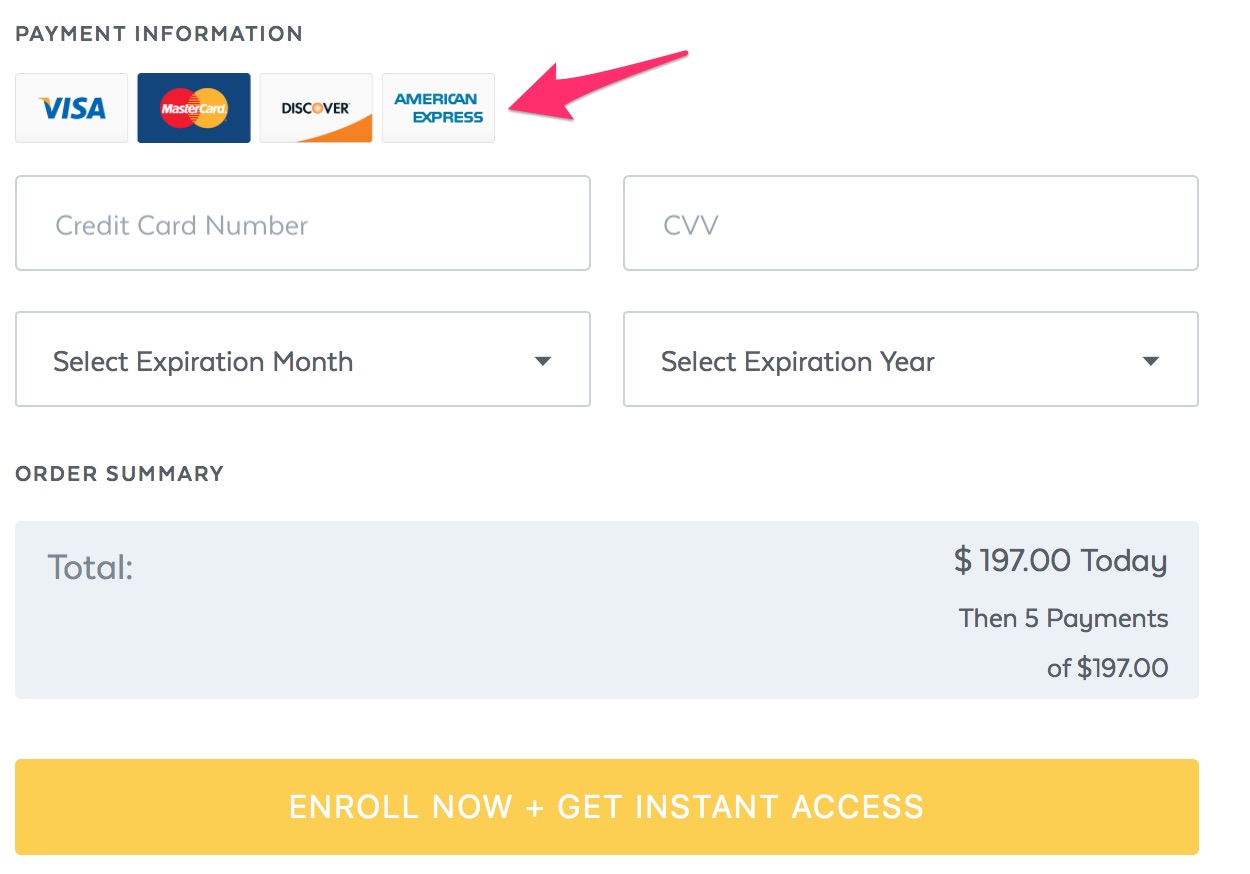
Independent research from CXL has consistently found PayPal among the most trusted checkout badges, with Visa/Mastercard among the most familiar. If you can A/B test, do it—otherwise, start with widely recognized badges.
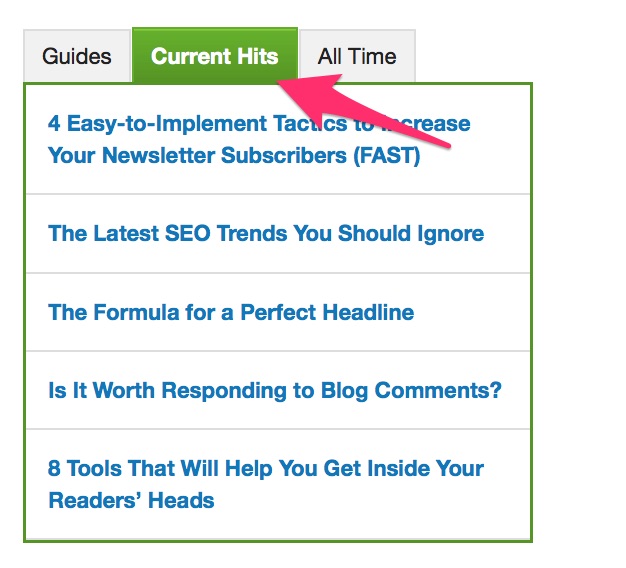
16. Popular posts and products
When you lack other proof, let popularity guide visitors.
Showcase your most-read posts or best-selling products to help people choose quickly.
I display popular posts in the sidebar like this:
You can also list them in the footer, as Blogging Wizard does:
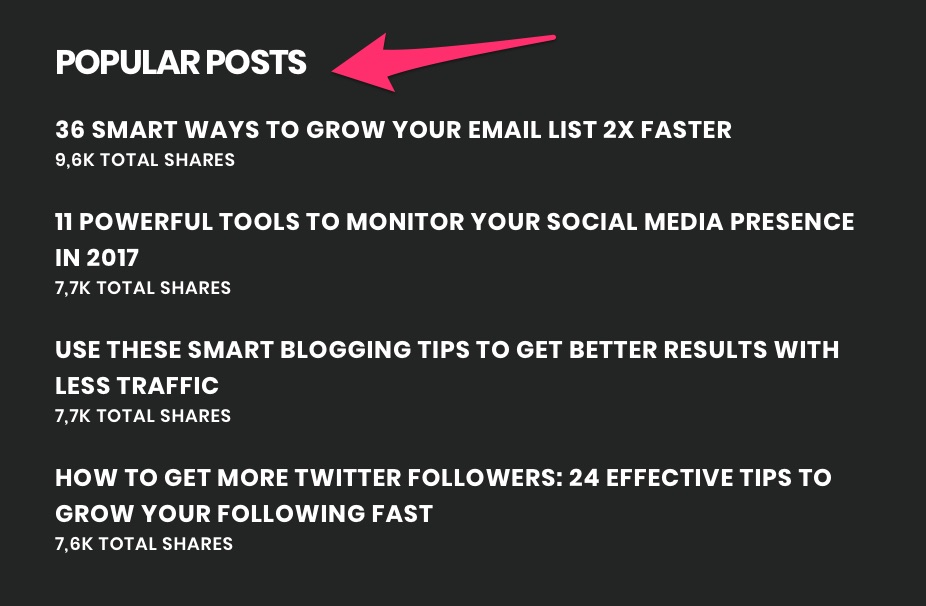
Again, avoid negative proof—hide view/share counts if they’re low.
Running an ecommerce site? Add a “Best Sellers” or “Trending Now” carousel.
Same effect—shoppers shortcut to what most people choose.
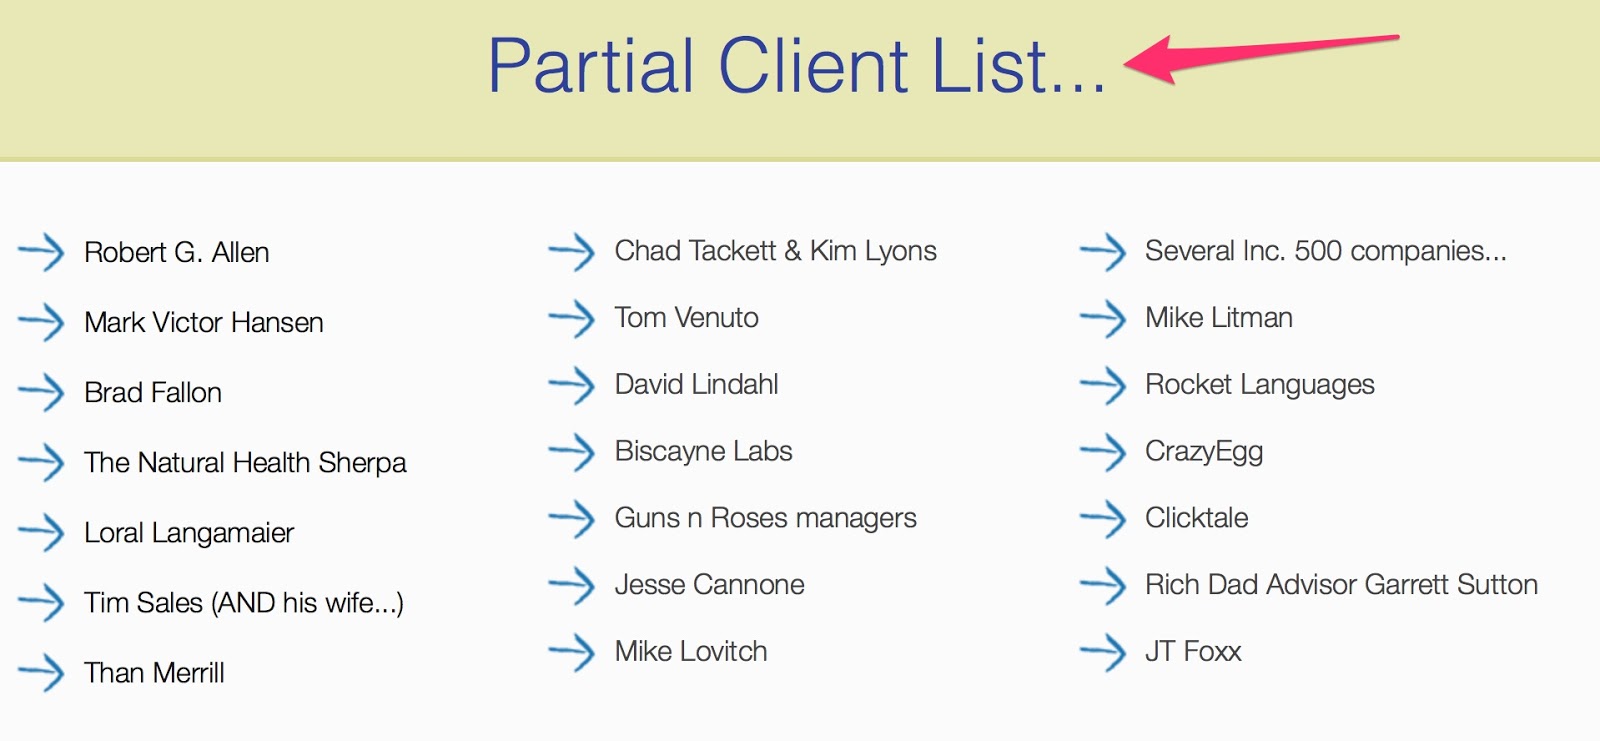
17. Client or customer list
Featuring client logos is a clean, fast way to communicate trust.
Recognizable names have outsized impact—even more than a written quote in many cases.
Here’s an example from Sleeknote:
Service businesses can do this too—group logos by industry to make it even more relevant:
Simple and effective.
Conclusion
The premise of social proof is simple: people trust people.
When customers and credible voices tell prospects you’re worth it, the message lands harder than any ad copy.
And when you do talk about your own wins, back them up with third-party validation.
Social proof isn’t optional—it’s foundational.
Prospects want to feel confident investing in you. Give them the ratings, reviews, stories, numbers, and logos that make “yes” easy.
You have no shortage of options.
I’ve shown 17 high-impact ways to add proof and where to place each for maximum effect.
Whether you sell products or services—and whether you’re new or established—these proof elements will help you turn attention into action.
Put them to work across your site and campaigns. You’ll see engagement rise and conversion rates follow.