There are plenty of smart reasons to transfer a domain. Your current registrar may have raised prices, support might be slow, or you simply want to consolidate renewals and DNS management in one place. Moving a domain to a registrar that fits your budget and workflow makes ongoing site management easier.
Good news: transferring a domain is not expensive or difficult. Most transfers finish in about five to seven days once you’ve completed a few quick prerequisites. Below, I’ll walk through seven clear steps to move your domain from one registrar to another without downtime.
Transfer A Domain Name in 7 Easy Steps
Transfers go fastest when you prep the right info up front. Follow these seven steps to make your move smooth:
For this tutorial, I’m using GoDaddy. It’s one of the most established registrars with competitive transfer pricing and solid tools. Sign up now to transfer your domain (commonly around the low teens for .com), and get a 1-year extension on most TLDs included.
Step 1: Sign Up for GoDaddy
The first step is creating an account with your new registrar.
I’m using GoDaddy here, but these steps are similar at most registrars. GoDaddy is affordable, popular, and security-focused—important traits when you’re managing valuable domains.
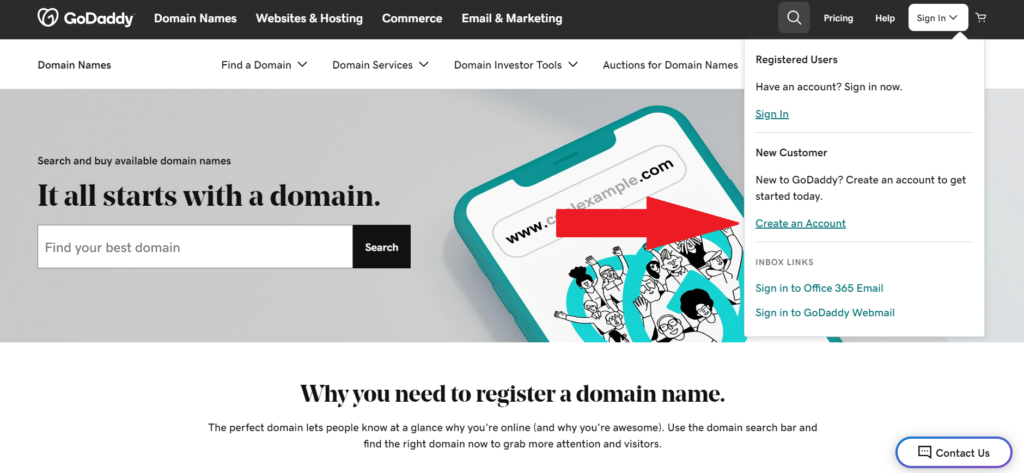
To begin, go to GoDaddy’s home page, click Sign In, then choose Create an Account. Add your details and enable two-factor authentication (2FA) for extra protection. Use a contact email you control that does not depend on the domain you’re moving, so you don’t miss verification emails during the transfer.
Once your account is created, open your GoDaddy dashboard—you’re ready for eligibility checks.
Step 2: Make Sure Your Domain Is Eligible
Before you start the transfer, confirm that your domain can be moved right now.
Most gTLDs (like .com, .net, .org) cannot be transferred within 60 days of initial registration or a change of registrant. Some registrars let you opt out of the 60-day lock when you change contact info, but many keep it enabled by default. Country-code TLDs (like .uk, .de, .io) may have additional rules and timelines.
Next, verify that your domain contact information is current—especially the registrant/administrative email—and that you can receive emails at that address. If your email is tied to the domain (e.g., you@yourdomain.com), set a backup address on a separate domain to avoid interruptions during the move.
Finally, check your domain’s status at your current registrar. You want to see a status that allows transfers (not clientTransferProhibited). Once you’ve confirmed eligibility and updated your contact/billing info, continue.
Step 3: Unlock Your Domain
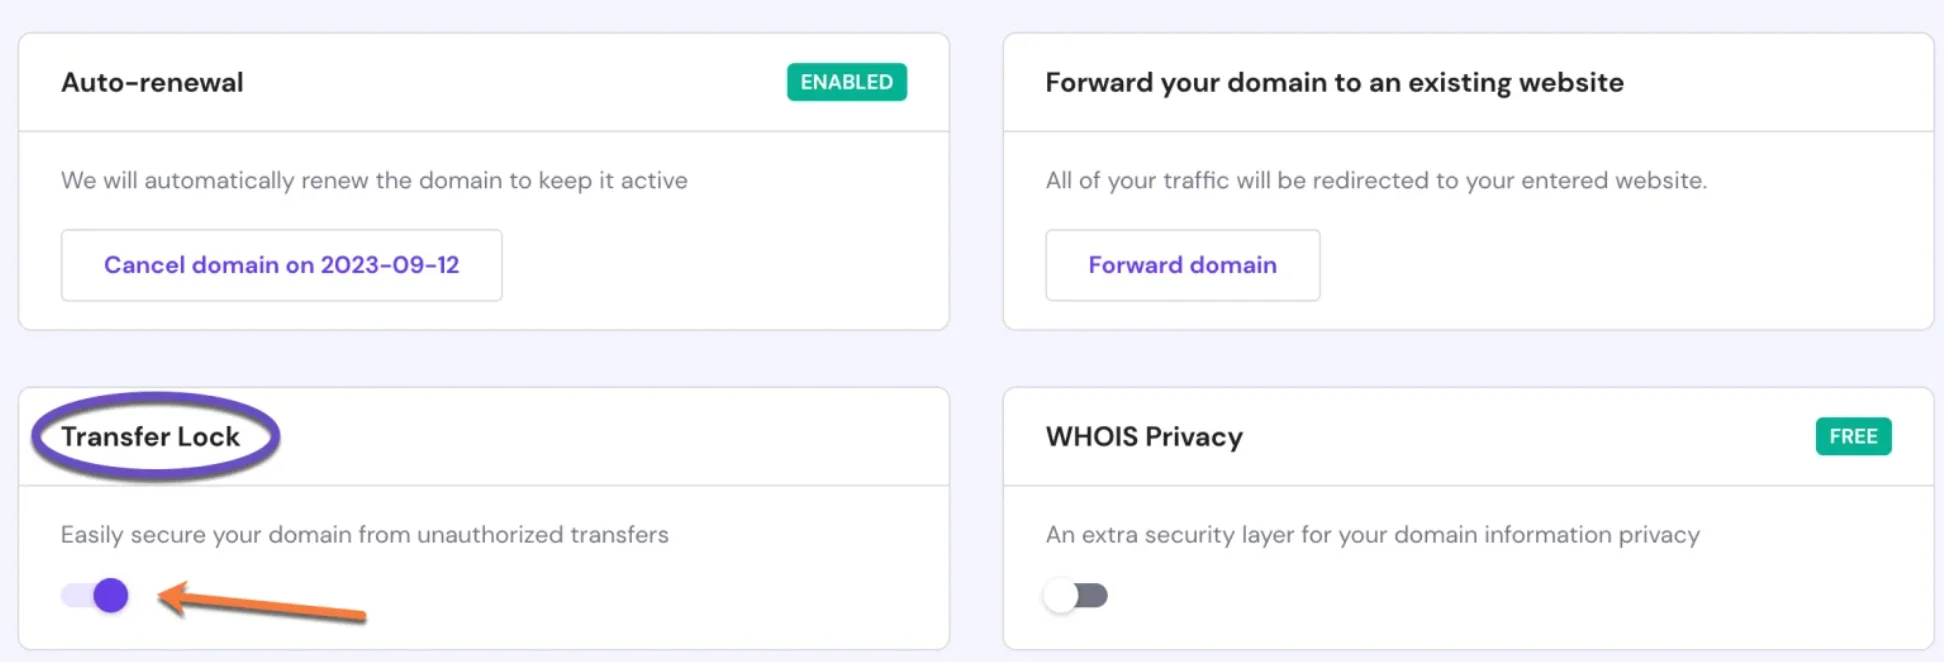
Domains are typically locked to prevent unauthorized moves. To transfer, you’ll need to disable the transfer lock.
Many registrars let you toggle this yourself from the domain dashboard. For example, with Hostinger, you can turn the Transfer Lock off with a simple switch:
Some providers require you to contact support to request unlocking. If you don’t see an “Unlock Domain” option, open a ticket or email support and be ready to verify ownership with your login and billing details.
Unlocking does not change your DNS or take your site offline. Leave your nameservers and DNS records as-is for now to avoid downtime.
Once unlocked, proceed to obtain your authorization code.
Step 4: Get an Authorization Code
Also called an EPP code, auth code, or Transfer Authorization Code (TAC), this short code proves you own the domain and authorizes the transfer.
Many registrars let you generate or request the code from your domain dashboard and will email it to your registrant/admin email. Others require a support request for security reasons. Codes may expire after a short period, so use them promptly.
Keep the code private. When you have it, you’re ready to kick off the transfer at your new registrar.
Move on to the next step when you have your code in hand.
Step 5: Add Your Domain To Your New Registrar
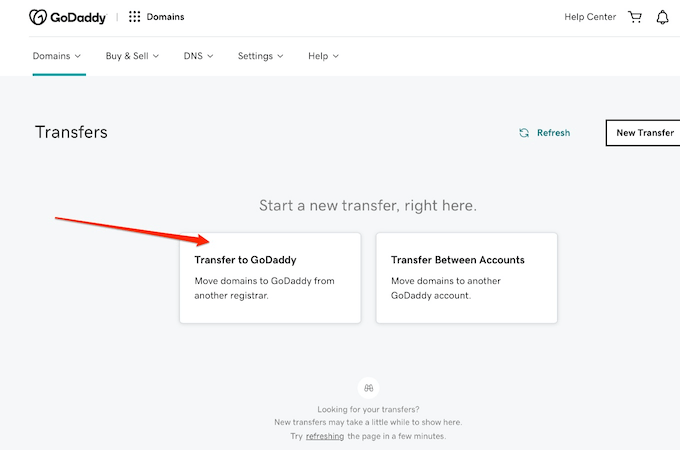
With the lock disabled and your authorization code ready, start the transfer in GoDaddy.
In your dashboard, go to Domain Names > Transfer Domain Names.
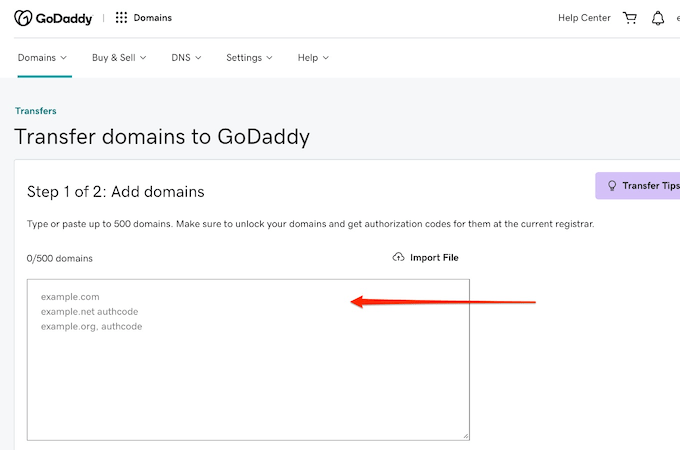
Enter your domain name without http/https (e.g., yourdomain.com) and paste your authorization code when prompted. During checkout you can choose privacy, auto-renew, and nameserver options. If your website and email are hosted elsewhere, keep your current nameservers to avoid downtime; you can switch DNS later after the transfer completes.
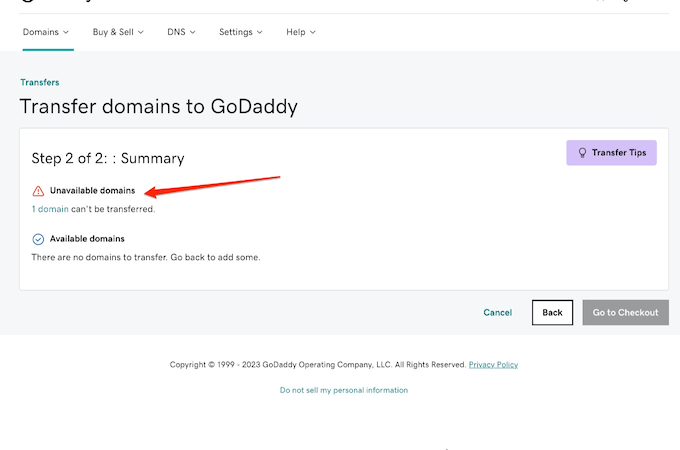
If GoDaddy flags an issue—like the domain still being locked or an auth-code mismatch—double-check spelling, confirm the lock is off at your current registrar, and verify your code is current.
When your domain is accepted, pay for the transfer. GoDaddy’s transfer pricing is typically budget-friendly, and most TLDs include a 1-year extension of your current expiration date.
After checkout, watch for confirmation emails at both registrars. Transfers generally complete within 5–7 days, but many losing registrars let you approve the transfer to release it sooner.
Once you see the domain in your GoDaddy account, continue to post-transfer checks.
Step 6: Update Your Domain Details In GoDaddy
After the transfer completes, confirm everything is correct and secure in your new account.
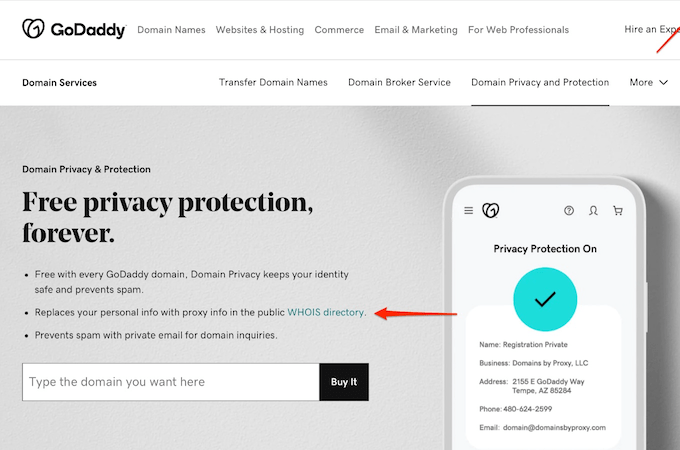
Open your domain settings and review your contact details. Enable free privacy so your personal information isn’t publicly visible in WHOIS. Turn Domain Lock back on to prevent unauthorized moves, and keep 2FA enabled for account security.
Next, review DNS. If you kept your prior nameservers, your site and email should continue working. If you plan to move DNS to GoDaddy, copy over your A/AAAA, CNAME, MX, and TXT records first, lower TTL if needed, and then switch nameservers to avoid any interruption.
Finally, visit your domain in a private browser to ensure it loads without errors and that email still delivers as expected. When everything checks out, you’re ready for cleanup.
Proceed to the last step.
Step 7: Delete Your Old Registrar Account
Now that your domain lives in GoDaddy, close things out with your old registrar so you don’t get billed or create confusion later.
Disable auto-renew for the transferred domain, cancel any add-ons tied to it (like WHOIS privacy or DNS hosting), and remove stored payment methods if you no longer use the account. Move anything you still need over to GoDaddy. If you have no other services at the old registrar, you can delete the account entirely; otherwise, just leave it inactive.
This avoids accidental renewals and prevents settings conflicts after your domain move.
With cleanup done, you’re set—manage renewals, DNS, and security from your new registrar going forward.
Final Thoughts About Transferring a Domain Name
Transferring a domain is straightforward when you follow your registrar’s process: confirm eligibility, unlock the domain, grab the authorization code, submit the transfer, and verify the details afterward. Most moves finish within a week, and many can be approved sooner at your losing registrar.
Given how simple the process is—and the added benefits of lower pricing, better tools, and centralized management—moving your domain is often worth it. Prepare the few items above and you can migrate without downtime or surprises.