The ecommerce industry is booming. Established retailers and first-time entrepreneurs alike are launching online stores to create new revenue streams and reach customers beyond their local markets.
That said, starting a site from scratch—choosing a platform, importing products, and setting up payments—can feel intimidating if you’ve never done it before.
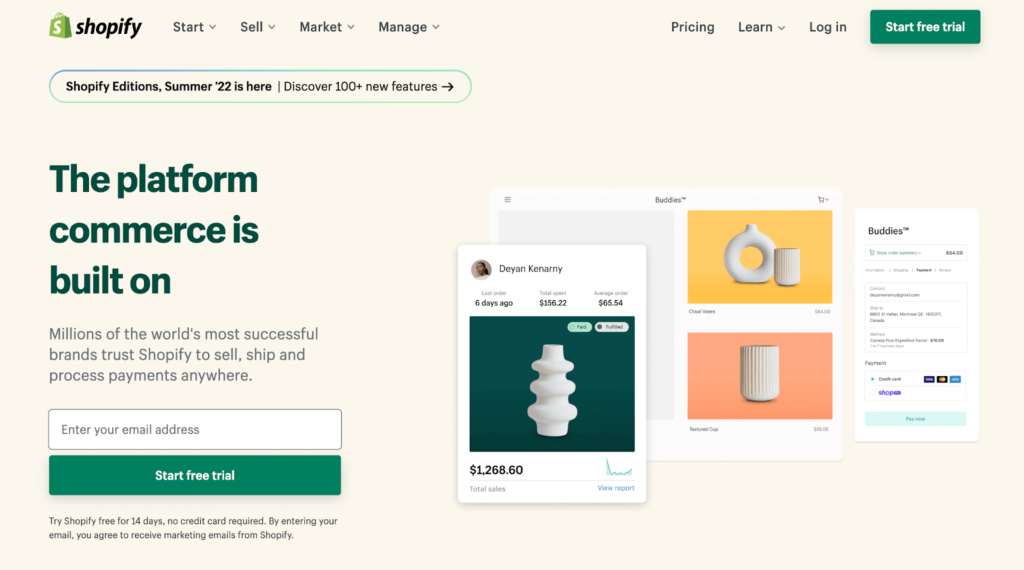
Fortunately, Shopify makes it straightforward to launch a professional ecommerce website without prior experience or technical skills.
Use this step-by-step guide to go from zero to live store. Follow along and you can have a polished Shopify site ready to sell in under 30 minutes.
6 Steps to Build a Shopify Website
Building a Shopify website is simple when you follow these steps:
- Get Organized
- Sign Up For Shopify
- Design Your Shopify Site
- Build Out Your Pages and Organize the Navigation
- Add Products
- Connect Your Domain
The Easy Parts of Building a Shopify Website
Most people are surprised by how quickly they can spin up a Shopify site.
As an all-in-one platform, Shopify includes hosting, security (including free SSL), checkout, inventory, analytics, and a vast app ecosystem (8,000+ apps) so you can add features as you grow. You don’t need to hire a developer or learn to code to get a fast, secure storefront live.
Shopify also offers domain registration and built-in web hosting, so you won’t need separate providers for each piece.
Getting started is as simple as creating an account, naming your store, and choosing a theme that’s already optimized for ecommerce.
Other beginner-friendly platforms can work at first, but many stores outgrow them and have to migrate later.
That’s not the case with Shopify.
Shopify is built to scale. There’s even an enterprise option—Shopify Plus—for high-volume brands. You can confidently start on Shopify and grow without switching platforms.
Accepting payments is easy with Shopify Payments (the built-in processor). Prefer a different provider? No problem—Shopify supports 100+ third-party payment gateways across countries and regions.
Pricing update: plans start at $29/month when billed annually (or $39 month-to-month). Shopify also frequently offers a 3-day free trial followed by $1/month for your first 3 months on select plans.
The Difficult Parts of Building a Shopify Website
Launching the site is the easy part—attracting customers and generating consistent sales takes more work.
Ecommerce is competitive. You’ll contend with niche competitors and big marketplaces like Amazon and Walmart. New stores, in particular, need time to earn organic traffic. Plan for SEO from the start and consider early paid campaigns to jump-start traffic.
Successful brands differentiate with a clear value proposition and strong positioning. Expect some testing on brand story, creative, pricing, and offers until you find what resonates.
Traffic isn’t enough—you need to convert it. Invest in high-quality product photos, benefit-driven descriptions, reviews and social proof, and a frictionless checkout. Capture emails/SMS, enable abandoned checkout automations, and use post-purchase flows to increase repeat orders.
After the sale, prioritize service and loyalty. Be ready to manage feedback, returns, exchanges, and shipping questions professionally.
If you’re willing to put in the work, a Shopify site can become a meaningful revenue engine.
Step 1 – Get Organized
Shopify is built for ecommerce—you’re starting a business, not a personal blog. A little planning up front prevents costly rework later.
Put your ideas in writing. Create a simple business plan, open a dedicated bank account, obtain an EIN, and register your business (LLC or corporation) as needed in your state.
While not required to build your site, you’ll want several essentials ready during setup: fulfillment approach (in-house, 3PL, dropship, or print-on-demand), shipping strategy and zones, initial pricing, and basic brand assets (logo, colors, fonts, imagery).
Create a Store Name
Choose a memorable name for your Shopify store. If you already operate a retail brand, you’ll likely use that same name—unless you’re rebranding for ecommerce.
Shopify has a free business name generator for inspiration.
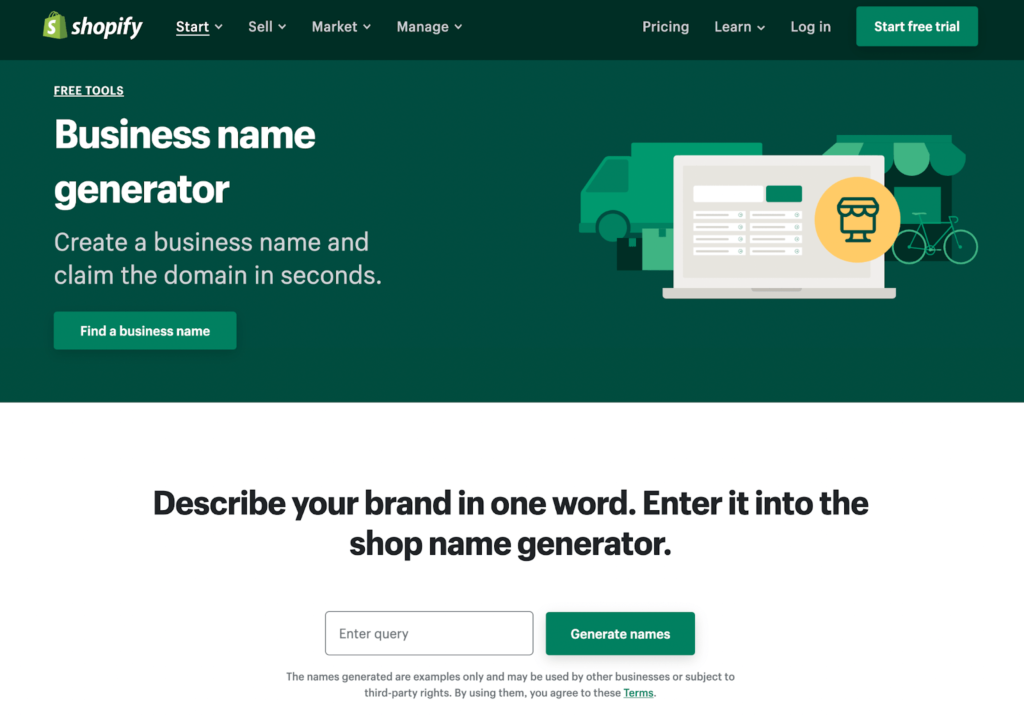
When you find a name you like, check domain availability and potential trademark conflicts before you commit.
Decide What You’re Going to Sell and Who You’re Selling To
Decide your initial product catalog before you build. Will you sell your own products, wholesale, dropship, or use print-on-demand? Know your suppliers, lead times, and margins—it’ll help you write accurate product pages and set reliable shipping expectations.
Clarify your target audience. Your design choices, copy, and photography style should align with who you’re trying to reach.
Step 2 – Sign Up For Shopify
Head over to Shopify and create an account. Provide an active email and password to get started.
Choose a Plan
There are three core plans to choose from. Pricing is Basic: $39/month (or $29/month billed annually), Shopify: $105/month (or $79/month billed annually), and Advanced: $399/month (or $299/month billed annually). Most new stores start with Basic; established retailers or migrations often choose Shopify for stronger reports and automation.
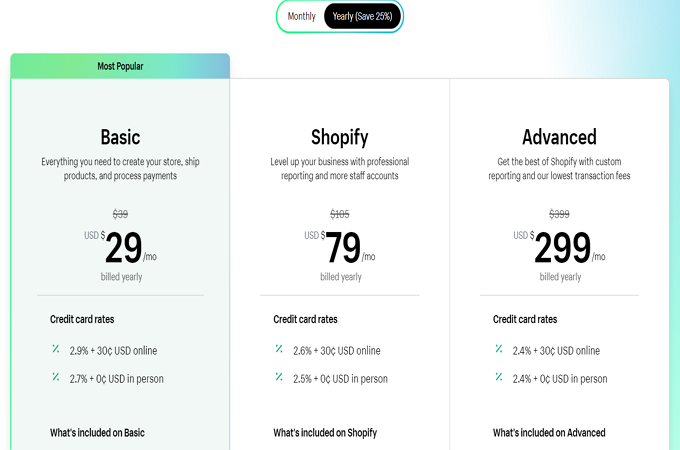
All plans include everything you need to sell online. Even the entry tier supports retail sales with POS integrations. Stepping up adds more staff accounts, better reports, ecommerce automation, shipping discounts, and lower Shopify Payments rates.
Trial & promo: you can start on a free trial; the current public offer is 3 days free, then $1/month for your first 3 months on select plans. Pick your plan when you’re ready—if you choose a plan during the trial, you won’t be charged until the trial ends.
Follow the Setup Wizard
After sign-up, Shopify’s onboarding wizard asks a few quick questions to tailor your setup.
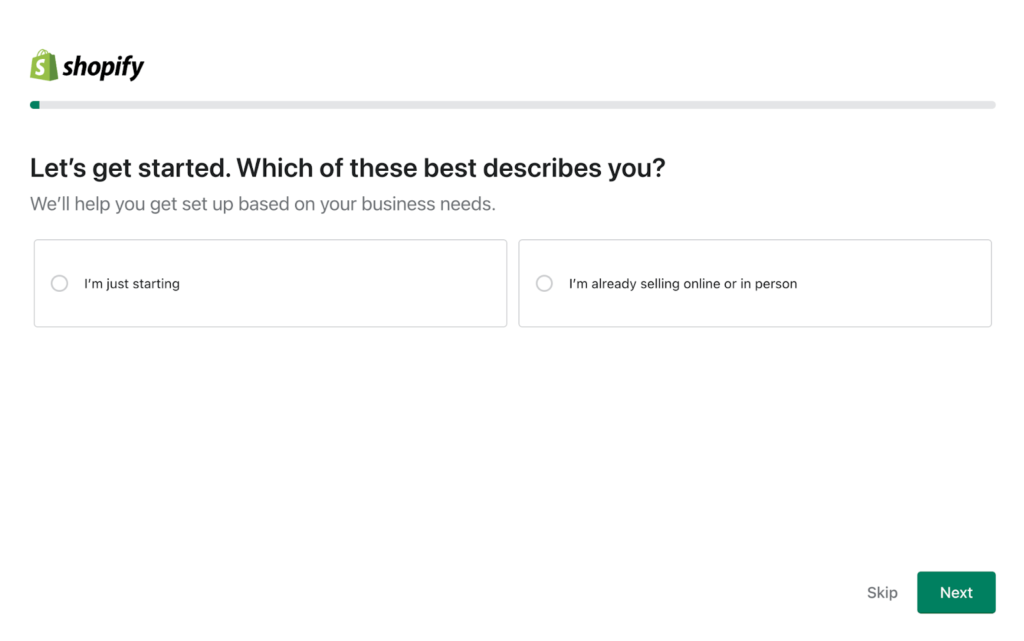
It’ll ask whether you’re brand-new or already selling elsewhere.
Other setup questions include:
- Where do you want to sell? (online store, in person, social channels, marketplaces)
- Are you planning to use dropshipping?
- Where is your business located?
You can skip the wizard, but it usually speeds things up and helps you configure the right defaults.
Step 3 – Design Your Shopify Site
Now focus on design. No design background required—Shopify’s theme editor lets you customize everything with a visual, drag-and-drop interface.
Select a Theme
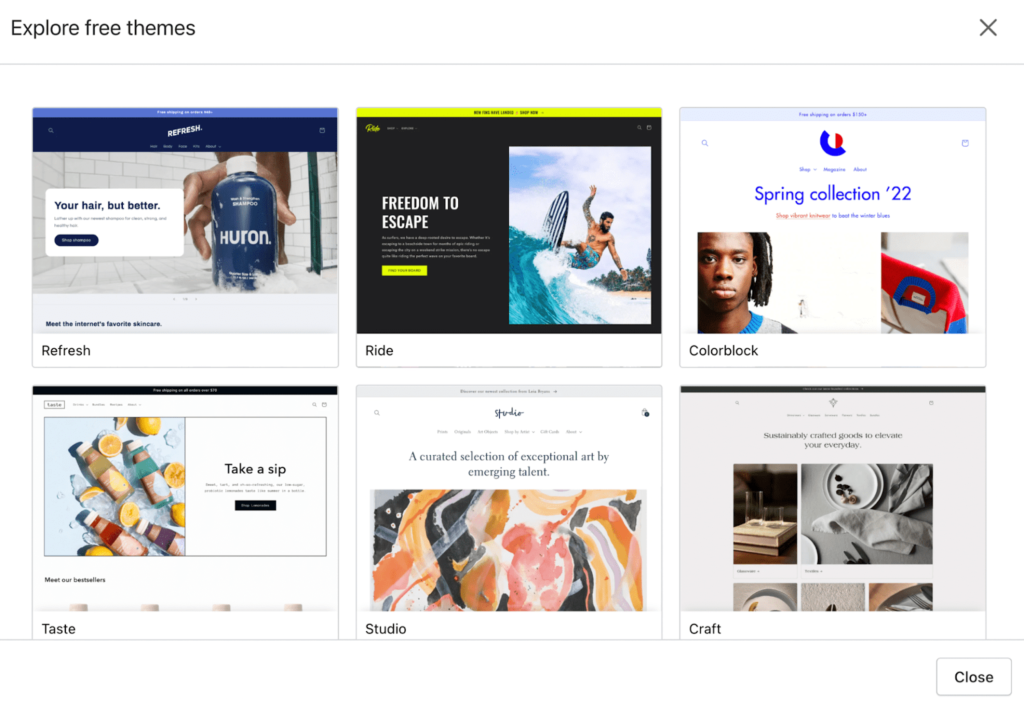
Shopify offers a wide range of free and paid themes to choose from.
Go to Online Store > Themes. In the Theme Library, browse free options or explore premium themes in the Theme Store.
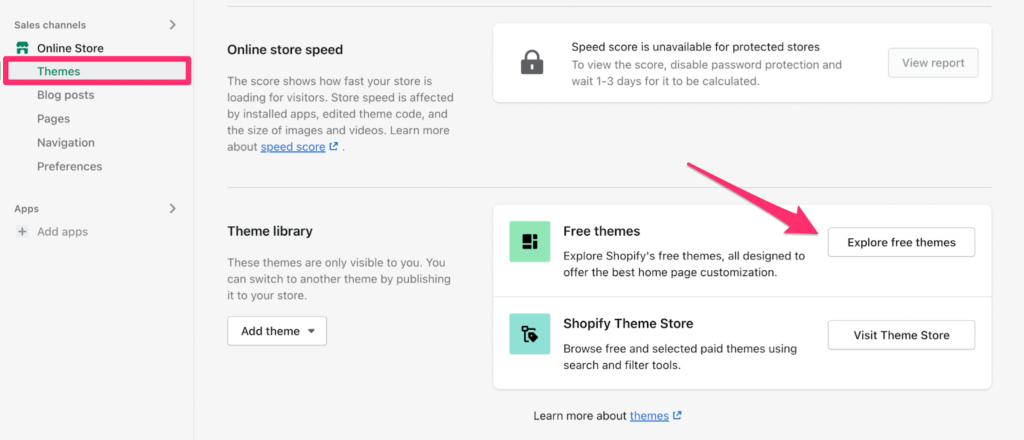
On a tight budget? Free themes are excellent and convert well. Visitors won’t know (or care) whether your theme was free or paid.
Browse until you find a design that fits your brand and product catalog. Prioritize clean navigation, fast load times, and strong product page layouts.
You can switch themes later, but it’s easier to stick with one through setup. Take a few extra minutes to pick a theme you’re confident in.
Add Brand Assets
Use the theme as a starting point. Customize colors, typography, header/footer, and section blocks. Upload your logo and brand imagery, set your favicon, and add alt text to key images for accessibility and SEO.
Click Customize to open the editor and preview changes in real time on desktop and mobile.
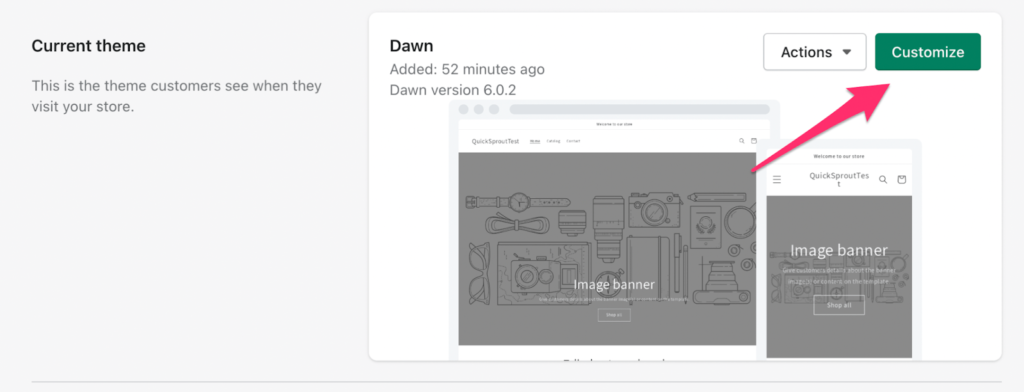
As you finalize styles, keep readability and contrast in mind to improve conversions and accessibility.
Step 4 – Build Out Your Pages and Organize the Navigation
Beyond the homepage, create the core pages your store needs.
In Online Store > Pages, click Add page to create them.
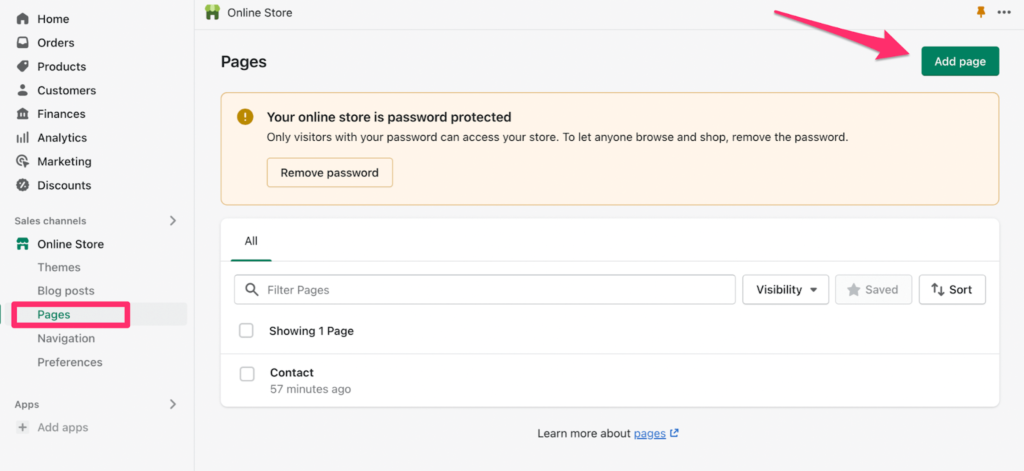
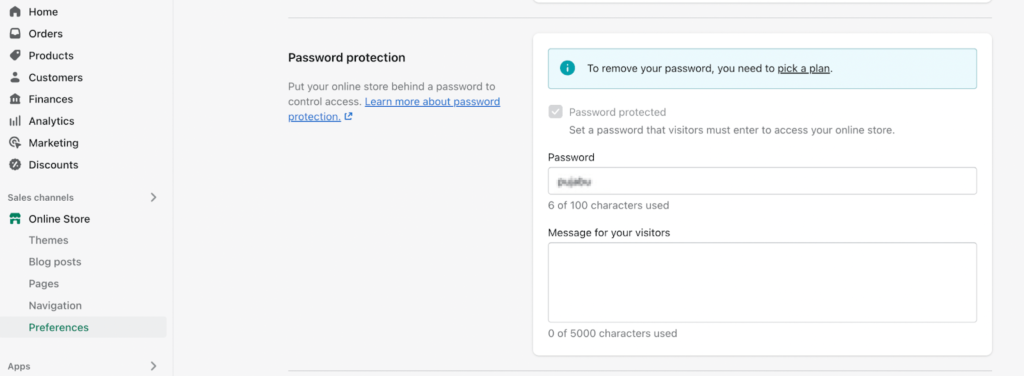
If your store is currently password-protected, that’s expected during setup. We’ll remove it right before launch.
Don’t worry about perfection—get the essentials live first, then iterate.
Landing Pages
Every ecommerce site should have these pages:
- Home page
- About Us
- Contact Us
- Product Pages
- Blogs
- FAQ
- Policies (Shipping, Returns, Privacy, Terms)
- Collection Pages (for category browsing)
Keep it simple. You can always add more later. Here’s a basic contact page example with a built-in form:
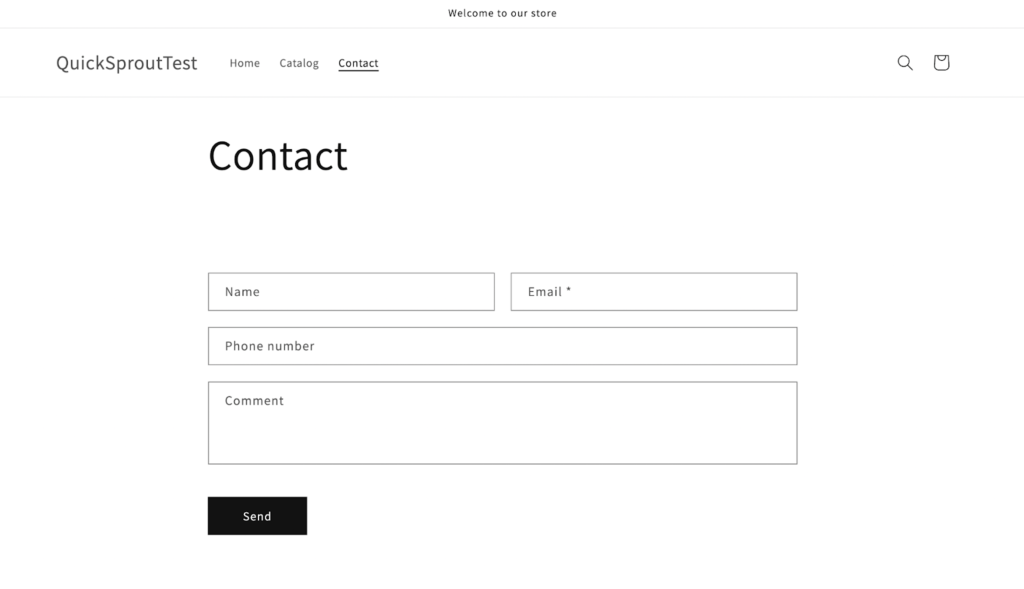
This gives customers an easy way to reach you with questions or support requests.
Navigation
Customize your main menu so shoppers can quickly move between key pages and collections.
In Online Store > Navigation, edit your main and footer menus.
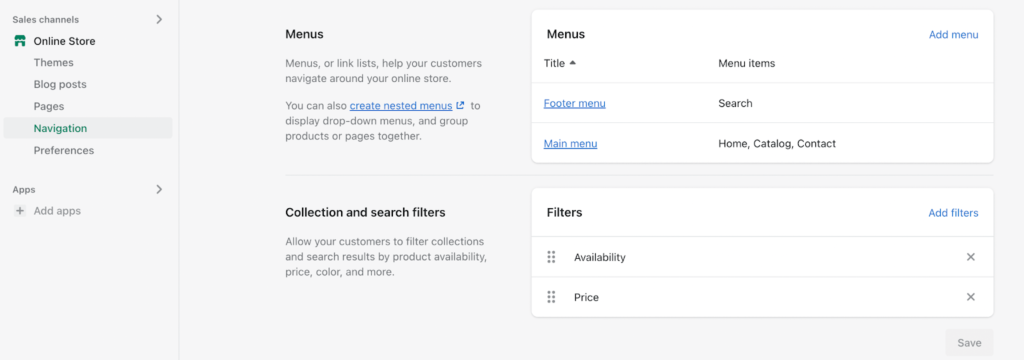
Create nested menus, link to collections, and enable search so visitors can find products fast. Keep labels short and intuitive.
Step 5 – Add Products
Products are the heart of your store. Here are practical ways to get them live quickly and organized well.
Adding a Single Product
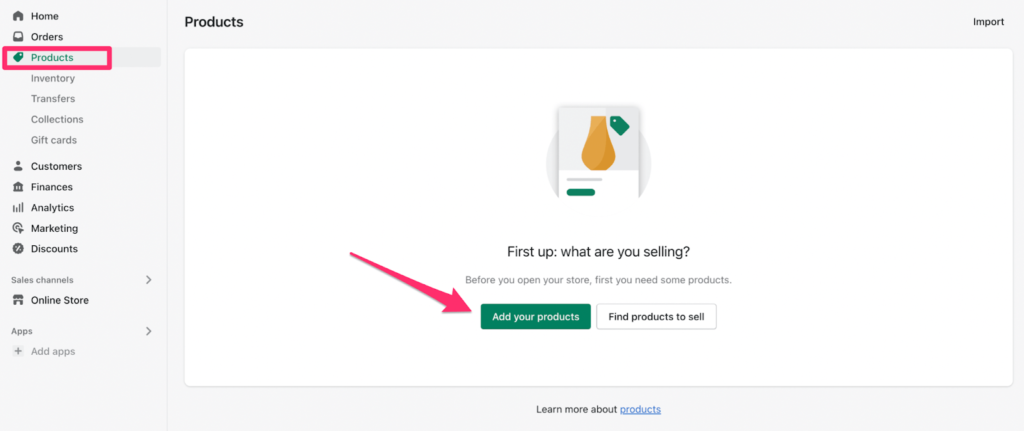
Starting with just a few items? Add them manually one at a time.
Go to Products and click Add your products to begin.
Fill in the details for each item, including:
- Product name
- Product description (benefits, materials, sizing, care, what’s included)
- Product images (add alt text)
- Status (active or draft)
- Pricing (compare-at price if on sale)
- SKU / Barcode
- Variants (sizes, colors) and options
- Inventory tracking and locations
- Shipping information (weight, HS codes if needed)
Use the search engine listing preview to set a clear SEO title and meta description. Strong, benefit-led copy improves both rankings and conversions.
Creating a Product Collection
Collections group similar items so customers can browse by category.
Examples include:
- Men’s shirts
- Women’s accessories
- Bedding
- Footwear
- Activewear
- Coats and jackets
Create collections manually (hand-pick items) or automatically (set rules).
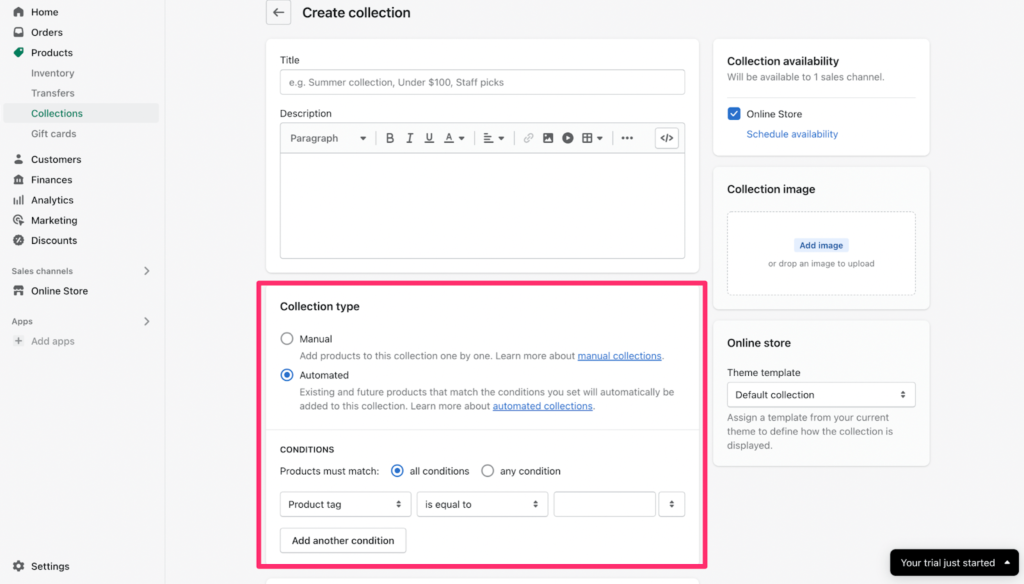
Automated collections save time. Set conditions by price, product type, vendor, inventory, or tags so new products are grouped automatically.
If you’re listing more than a handful of items, collections are essential for a clean shopping experience and better SEO.
Bulk Import via CSV
Adding many products? Use a CSV import to upload titles, descriptions, prices, images, variants, and inventory in one go. In Products, click Import to download the template, populate it, and upload. This is the fastest way to launch a larger catalog.
Step 6 – Connect Your Domain
New Shopify stores start on a subdomain. Before going live, connect your own domain for a professional brand presence.
For this tutorial, the example is quicksprouttest.myshopify.com—which isn’t what you want customers to see.
Buy a new domain or connect one you already own before launch.
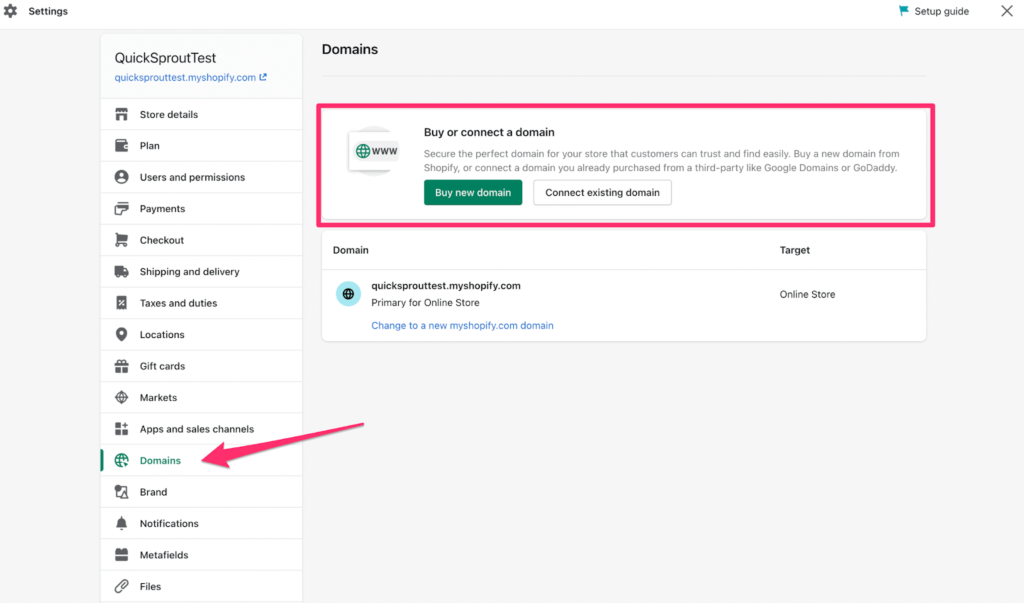
If you don’t have a domain yet, purchasing through Shopify is the simplest path and auto-configures DNS and SSL.
If you plan to manage multiple domains long-term, you might prefer buying from a domain registrar and then connecting it to Shopify.
Go Live
Once your domain is connected, you’re ready to launch. If password protection is enabled, remove it in Preferences right before you go live. Note: you can only remove the password after selecting a pricing plan (if you choose a plan during your free trial, billing doesn’t start until the trial ends).
Before launch, run a quick checklist: enable your payment provider and place a test order, set shipping rates and zones, add tax settings, publish policy pages (refund, privacy, terms), turn on abandoned checkout emails, and verify that your analytics and pixels are tracking. Then announce your store and start selling.