Marketing automation makes it easier to generate leads, build customer relationships, and drive conversions at scale. It also frees up your team from repetitive busywork across email, SMS, and on-site experiences so you can focus on strategy and creative.
By leveraging marketing automation software, you can personalize the customer experience with relevant information, timely follow-ups, and targeted promotions for different segments—without having to hand-send every message.
The Top 6 Best Marketing Automation Software in 2026
- Constant Contact – Best Overall Marketing Automation Software
- Nextiva – Best for Customer Experience–Driven Automation
- HubSpot – Best for Inbound Marketing
- Moosend – Best for AI-Powered Sales Campaigns
- GetResponse – Best Features for Marketing Automation
- OptinMonster – Best for Landing Page Lead Generation
After researching the top platforms, I’ve narrowed down the best marketing automation solutions available today and summarized who each one is ideal for—along with up-to-date pricing context and standout features.
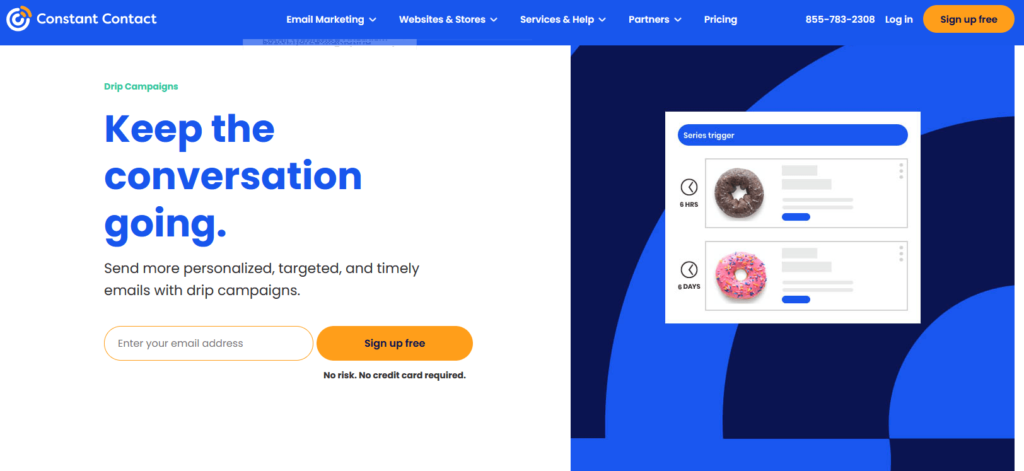
Constant Contact — Best Overall Marketing Automation
Constant Contact offers some of the easiest email and SMS automation tools I’ve reviewed. Developers may want more power, but for most marketers it’s everything you need to launch reliable, personalized sequences fast.
Set up welcome, onboarding, and nurture sequences that trigger the moment someone joins your list—then tailor messaging by segment, location, interest, or any custom attribute you define.
Nothing here is difficult—mostly point-and-click—but you can still get strikingly targeted. Build individualized welcomes for cold leads, local event signups, senior VPs, or C-suite prospects—however you segment.
From there, drip campaigns let you keep refining timing and content. Standard plans include a limited number of automation flows, while Premium unlocks unlimited automation, so the right tier depends on how many journeys you plan to run.
Pricing now follows three plan tiers that scale with your contact count:
- Lite — starts around $12/month for small lists; core email tools.
- Standard — starts around $35/month; automation, segmentation, and more robust reporting.
- Premium — starts at about $80/month; unlimited automation, revenue reporting, and includes 500 SMS messages/month (SMS add-ons are available on other tiers).
Free trials are typically 30 days. Pricing increases with list size, and Constant Contact offers custom plans for larger databases. Start a trial to build personalized automations in minutes.
Nextiva — Best for Customer Experience–Driven Automation
Nextiva is best known for business phone, contact center, and customer experience software, but its workflow automation is especially useful if you care about tying outreach directly to conversations and support activity.
Instead of treating voice, chat, messaging, and email as separate channels, Nextiva brings them into a shared customer context. You can build code-free workflows around customer interactions, routing, and follow-up so teams respond faster and with better context.
Build workflows that react when a customer submits low CSAT, abandons a quote, or reaches out repeatedly in a short window. For example, you might route a high-value lead to sales after a phone inquiry, then automatically trigger the next internal task or customer follow-up.
Nextiva’s reporting is strongest when you want to understand how communication across channels affects service quality, team performance, and retention—not just email opens and clicks. That makes it a smart choice for organizations that want marketing, sales, and service working from the same customer picture.
Pricing depends on the mix of voice, collaboration, contact center, and CX features you enable, with bundles typically becoming more cost-effective as you roll more channels into the same platform. If you’re already exploring Nextiva for phones or contact center, it’s worth requesting a demo that includes its automation and customer journey capabilities.
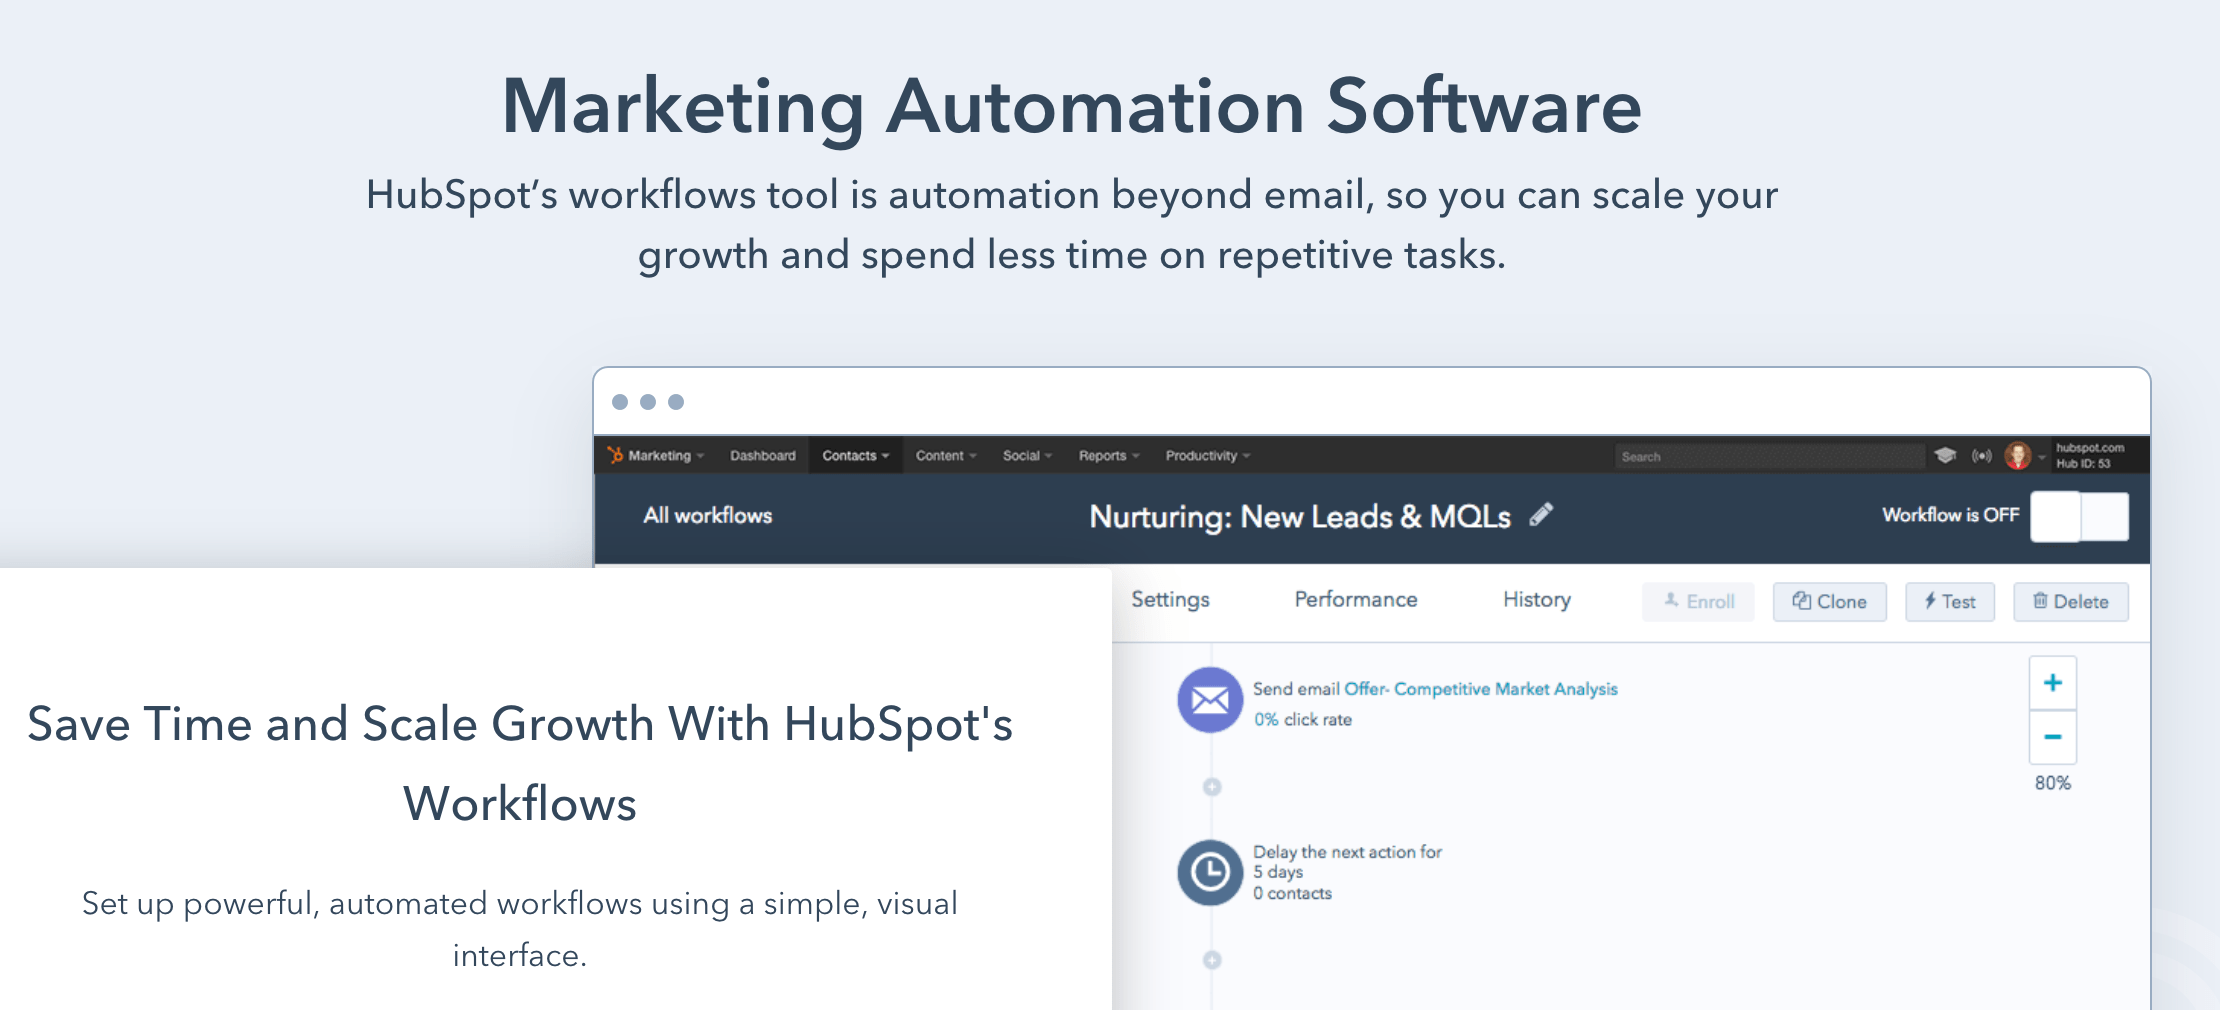
HubSpot — Best for Inbound Marketing
HubSpot built its reputation on inbound—attracting customers with useful content and converting them with well-timed journeys. Its Marketing Hub brings landing pages, blogs, ads, forms, and deep automation together in one place.
Use the visual workflow builder to create sophisticated journeys with triggers, conditions, delays, and branching logic. Prebuilt templates make it easy to automate routine interactions across email, chat, and forms.
Pricing: Marketing Hub Starter starts at a low entry price per seat, but full workflow automation lives in Marketing Hub Professional. Professional now starts around $890/month with three core seats included, while Enterprise starts much higher for larger teams. Contacts, email volume, and additional capacity can all affect the final price, so request a demo if you’re comparing Starter against Professional.
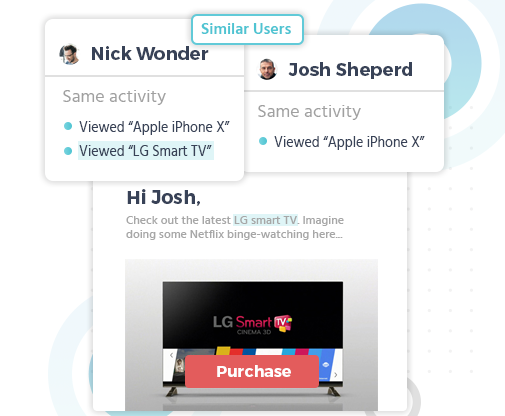
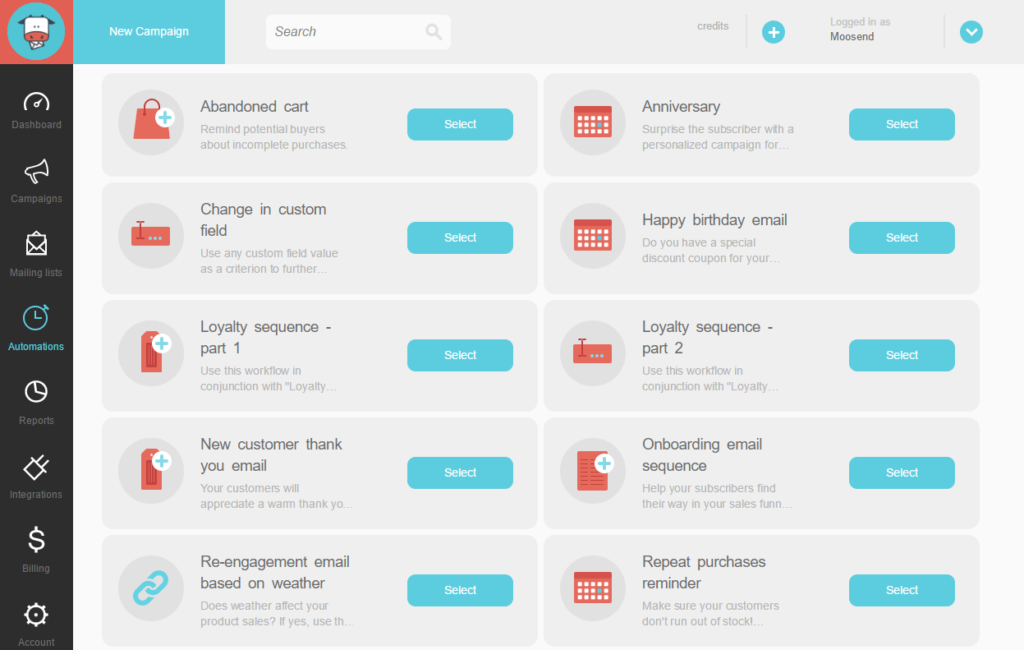
Moosend — Best For AI-Powered Sales Campaigns
Moosend is a clean, budget-friendly email platform with strong automation and ecommerce features. Drag-and-drop builders and thoughtful templates keep setup simple.
Its standout is ecommerce AI that powers product recommendations (“also bought,” “similar to,” and more) based on purchase and browsing behavior—great for cart recovery and post-purchase upsells.
The interface makes it easy to launch core automations (welcome, nurture, win-back) while you learn more advanced journey building.
Pricing includes a 30-day free trial; paid plans are low-cost and scale by contacts. Try Moosend free to test automations and landing pages.
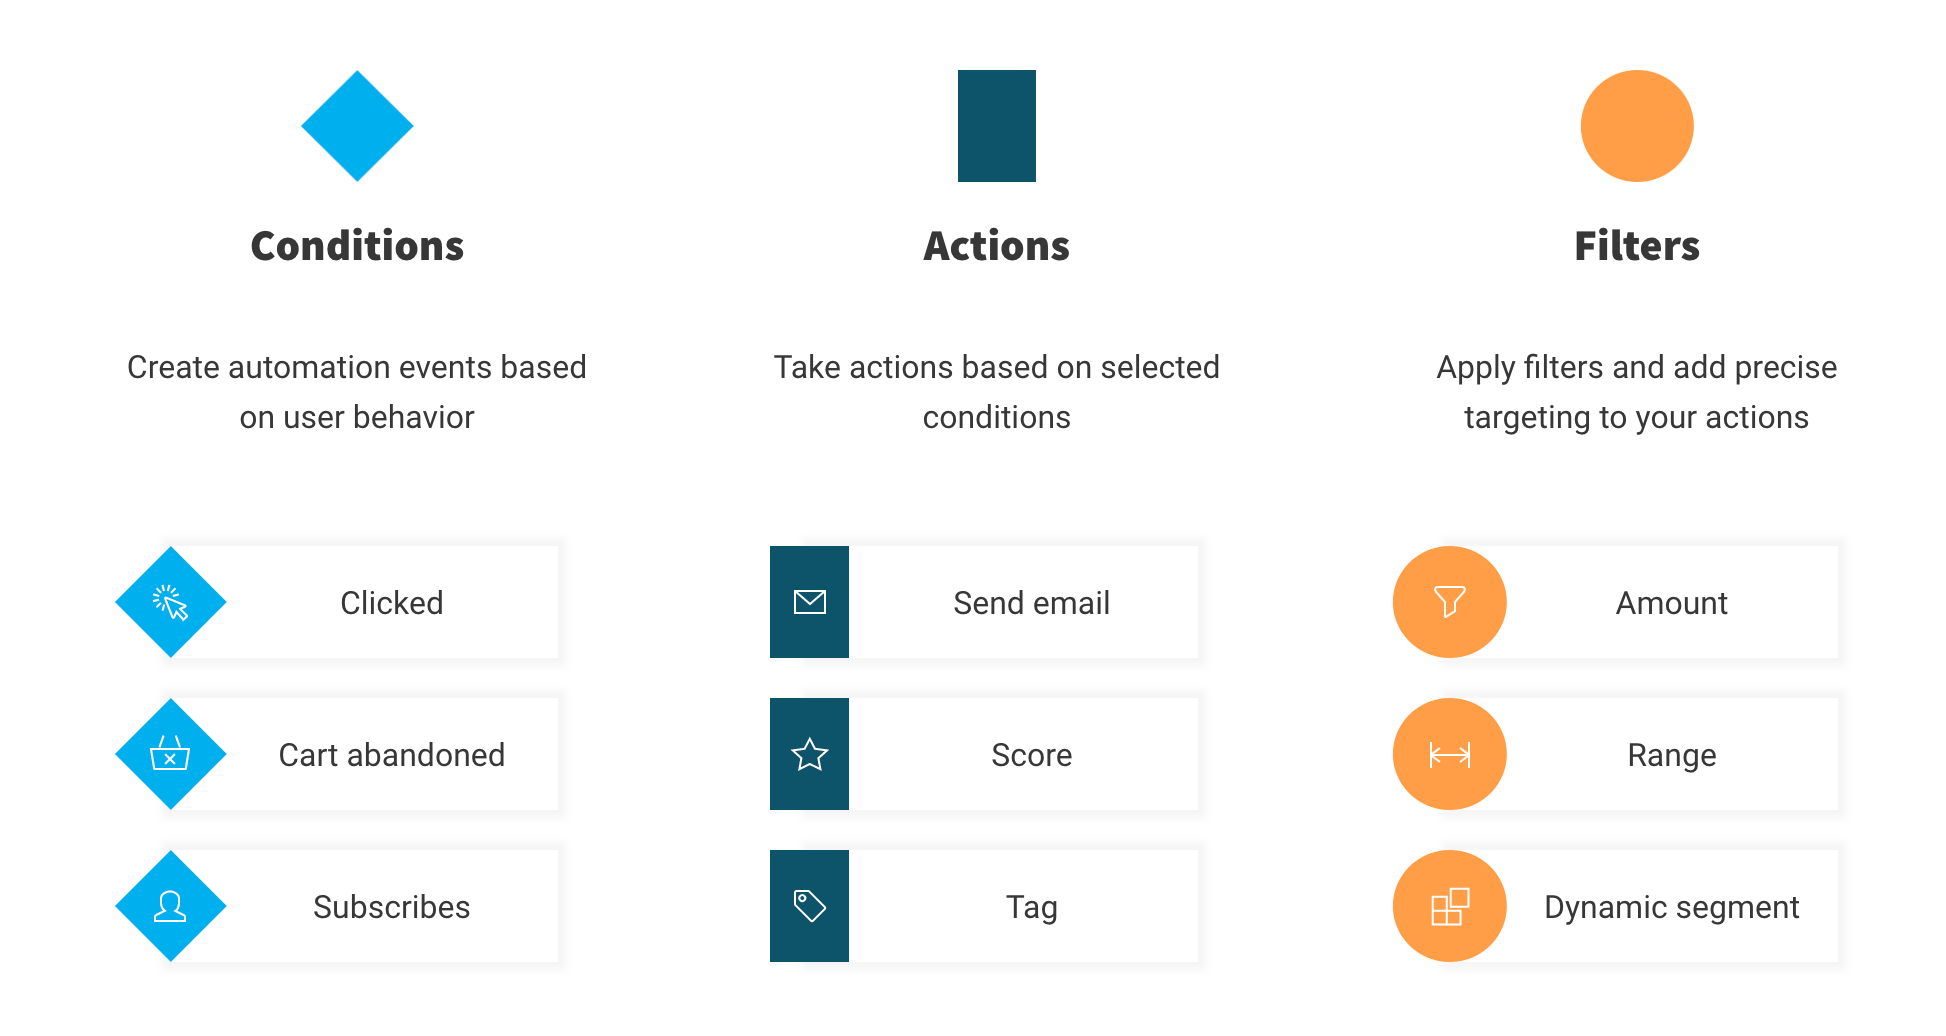
GetResponse — Best Features For Marketing Automation
GetResponse packs a lot into one platform—email, funnels, webinars, landing pages, and robust automation.
Use conditions, actions, and filters to build customer journeys that adapt to behavior (opens, clicks, pages viewed, purchases). Advanced segmentation and lead scoring help you prioritize high-intent contacts.
Plans have been refreshed: Starter, Marketer, and Creator are the main standard tiers. Starter begins at about $19/month for 1,000 contacts on monthly billing, with lower effective pricing on annual plans. Features scale by plan, so advanced automation, webinar functionality, and course tools vary depending on the tier you choose. There’s a free tier and a trial of premium features. Try it free.
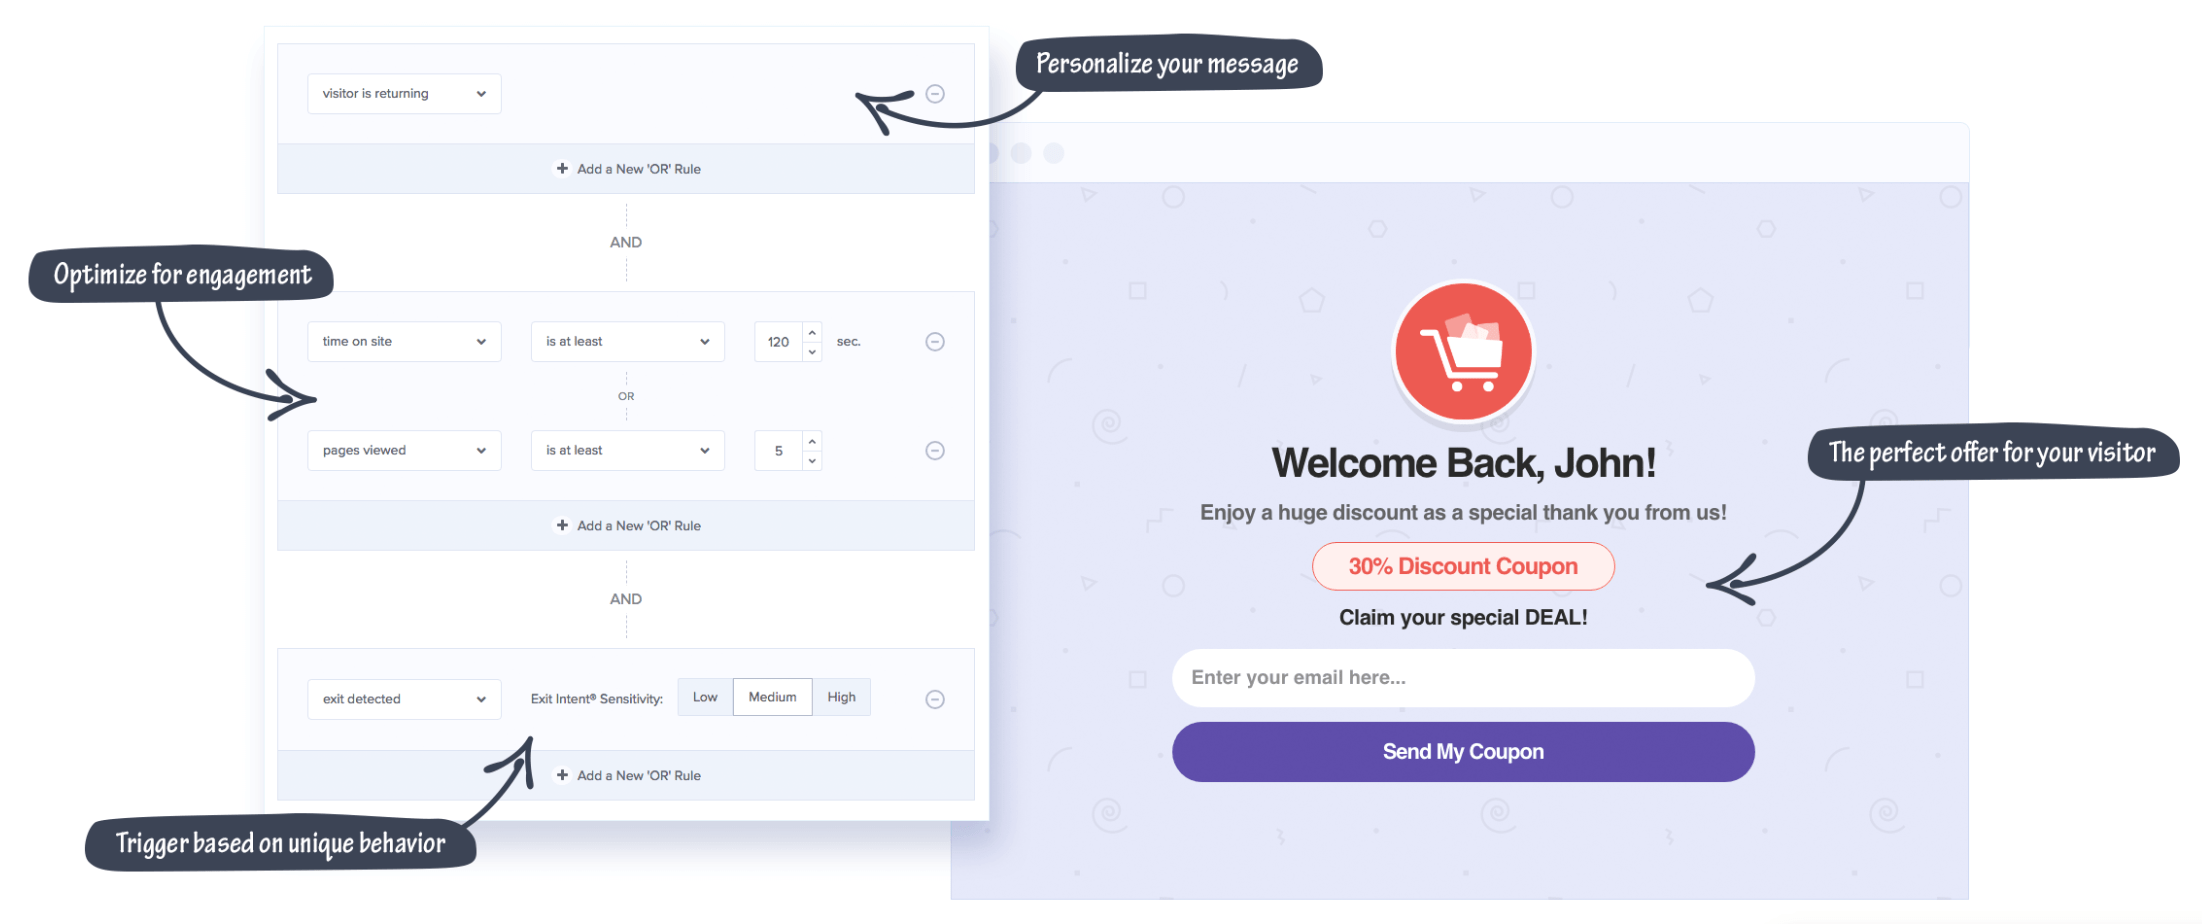
OptinMonster — Best For Landing Page Lead Generation
OptinMonster isn’t a full all-in-one suite—it’s a conversion toolkit for your site. Use it to build high-converting popups, slide-ins, and landing pages, then trigger campaigns by behavior (scroll depth, exit intent, time on page, new vs. returning visitors).
It’s excellent for growing email lists, reducing cart abandonment, and promoting offers. You’ll integrate it with your email or CRM platform for sending and subscriber management.
Pricing often starts around $9/month (billed annually) and there’s a 14-day money-back guarantee. Try OptinMonster risk-free for 14 days.
Carketing Cloud Next capabilities, with some usage governed by credits or add-on purchases. Request a demo to confirm features and required add-ons for your org.
How to Find the Best Marketing Automation Software For Your Business
The “best” tool depends on your goals, team, and tech stack. Beyond features and pricing, customer experience should play a defining role in your software decision. Platforms that connect email, messaging, support, and sales activity into one customer view can give you better timing, cleaner handoffs, and more relevant follow-up across the entire journey.
Use the factors below to build a shortlist and test with a free trial or demo.
A 30-Day Marketing Automation Launch Plan (That Actually Converts)
You don’t need dozens of complex journeys to see ROI. What you need is a focused rollout that captures leads, welcomes them well, and nudges them toward a first purchase or key action. Use the four-week plan below to launch fast, validate fit, and create a foundation you can scale in any of the platforms above.
Week 1: Data, Consent, and the First Lead Magnet
- Connect sources: Sync your website forms, checkout, and any ads/landing pages to your platform. Turn on two-way CRM sync if you use one.
- Standardize fields: Ensure contacts have consistent attributes (e.g., lifecycle stage, product interest, UTM source). Decide the minimum data you need to personalize (usually name + interest).
- Respect consent: Enable double opt-in where appropriate and clearly label SMS/email permissions. Store consent timestamps and source.
- Ship a single, specific offer: Launch one high-intent lead magnet (e.g., pricing guide, size chart, calculator, demo video) with a clean form that asks for as few fields as possible.
- Deliverability basics: Authenticate your sending domain (SPF, DKIM, DMARC), send from a real subdomain, and warm gradually—start with your most engaged contacts.
Week 2: Core Flows You Shouldn’t Skip
Build these four automations first. They drive outsized results across industries and are easy to maintain.
- Welcome Series (3–5 emails/SMS): Deliver the promised asset, set expectations, share your top resource or category, and ask a low-friction question to encourage replies (improves inbox placement).
- Nurture Path: Segment by interest (e.g., category or role) and send 3–4 messages that move readers toward a single “micro-conversion” (add to wishlist, book a demo, view a comparison page).
- Abandoned Cart / Lead Abandonment: For ecommerce, send 2–3 reminders including social proof and a soft incentive. For B2B, follow up when someone starts but doesn’t finish a form or booking.
- Re-engagement (90 days inactive): Win back dormant contacts with a “still interested?” check-in and a clear next step. Suppress those who don’t engage to protect deliverability.
Week 3: Personalization and On-Site Targeting
- Behavioral triggers: Fire messages based on key events—viewed pricing, watched 75% of a video, viewed a product but not carted, returned after 30 days. Pair each with a single, relevant CTA.
- Dynamic content: Swap blocks by segment (industry, lifecycle stage, category affinity). Keep your message structure the same so you can A/B test individual blocks.
- On-site experiences: Add targeted popups/slide-ins on high-traffic pages with exit-intent and scroll-depth rules. Offer the same lead magnet as email to keep attribution clean.
- Channel mix: Use SMS sparingly for time-sensitive nudges (order updates, last-chance reminders). Keep value high and frequency low to avoid opt-outs.
Week 4: Measurement, Iteration, and Scale
Pick a small set of “north star” metrics and iterate weekly—not quarterly. The goal is to learn quickly, not to build the most elaborate map.
- Core KPIs: welcome open rate, click-through rate, conversion to first action (purchase, trial start, booked call), revenue per recipient/send, unsubscribe rate, spam complaint rate, and list growth.
- Testing plan: A/B one thing at a time (subject line angle, hero block, CTA text, send time). Keep tests running for a full business cycle so attribution settles.
- Attribution sanity checks: Compare platform-reported revenue with analytics and payment data. Use UTM parameters consistently and audit them monthly.
- Scale responsibly: As engagement holds steady, widen segments and increase send volume gradually. Prune inactive contacts quarterly to maintain inbox placement.
Pro Tips and Common Pitfalls
- One goal per message: Every email or SMS should drive a single action. If you have two goals, create two messages.
- Mind the frequency: Layering flows can accidentally over-message new contacts. Use global frequency caps and exclusion rules.
- Keep content skimmable: Short paragraphs, scannable subheads, and a visible CTA above the fold consistently outperform dense blocks.
- Document your taxonomy: Name conventions for lists, tags, journeys, and UTMs prevent chaos as your program grows and new teammates join.
- Protect your sender reputation: Remove hard bounces, suppress chronic non-openers, and avoid sudden list imports without warming.
Follow this 30-day plan and you’ll have a lean automation engine that captures demand, nurtures it with relevant touchpoints, and proves its value with clear metrics—all without overwhelming your team.
Business Size and Type
SMBs and enterprises have very different needs. Newer or smaller teams often thrive with ActiveCampaign. Mid-market and enterprise teams with multi-channel campaigns tend to favor HubSpot. Teams that want automation tightly integrated with phones, support, and customer experience data should strongly consider Nextiva.
Ecommerce stores benefit from platforms with native store integrations, product recommendations, and cart recovery—Moosend is strong here. If your biggest bottleneck is on-site conversion, add OptinMonster for targeted popups and lead capture.
Automation Setup
Look for visual journey builders, prebuilt templates, and clear event triggers. Great platforms make it easy to set rules like “Viewed pricing page > send case study,” “Abandoned cart > reminder + coupon,” and “Inactive 90 days > win-back.”
Complexity varies—what matters is how quickly your team can build, test, and iterate. Always build a simple welcome and nurture flow during the trial to gauge fit.
CRM and Email
Some tools bundle CRM and email in one platform (HubSpot, ActiveCampaign, Brevo). Others focus on messaging and integrate with your existing CRM. Make sure your pick syncs contacts, deals, and events both ways, and verify ecommerce integrations if you run a store.
Remember: conversion tools like OptinMonster handle capture and on-site targeting—you’ll still send emails through a dedicated ESP or CRM.
Features
Match features to outcomes. For lead gen and nurturing, prioritize segmentation, scoring, and event/site tracking. For ecommerce, look for abandoned cart, product recommendations, and revenue reporting. For content businesses, look for visual sequences, broadcast speed, and list-growth tools.
Confirm which features are included in your plan—many platforms advertise capabilities that only unlock at higher tiers.
Price
Pricing typically scales by contacts (Constant Contact, ActiveCampaign, Kit) or by monthly email volume (Brevo). Entry-level plans can start under $20/month, while advanced suites with robust automation and reporting can run hundreds per month. Enterprise B2B tools like Account Engagement start in the low thousands monthly.
Annual commitments often reduce cost, but confirm any onboarding fees and limits (like automation caps on lower tiers) before you sign.
The Top Marketing Automation Software in 2026
Marketing automation software streamlines your campaign strategy and increases ROI. Constant Contact is my best overall pick for most teams, with Nextiva close behind for brands that prioritize customer experience across channels.
Choose the platform that matches your goals, integrations, and growth plans—then validate it with a trial by building your core welcome, nurture, and re-engagement flows.
Automation helps your team reach more people with consistent, useful messages—and gives every lead a more relevant journey across email, SMS, and your site.